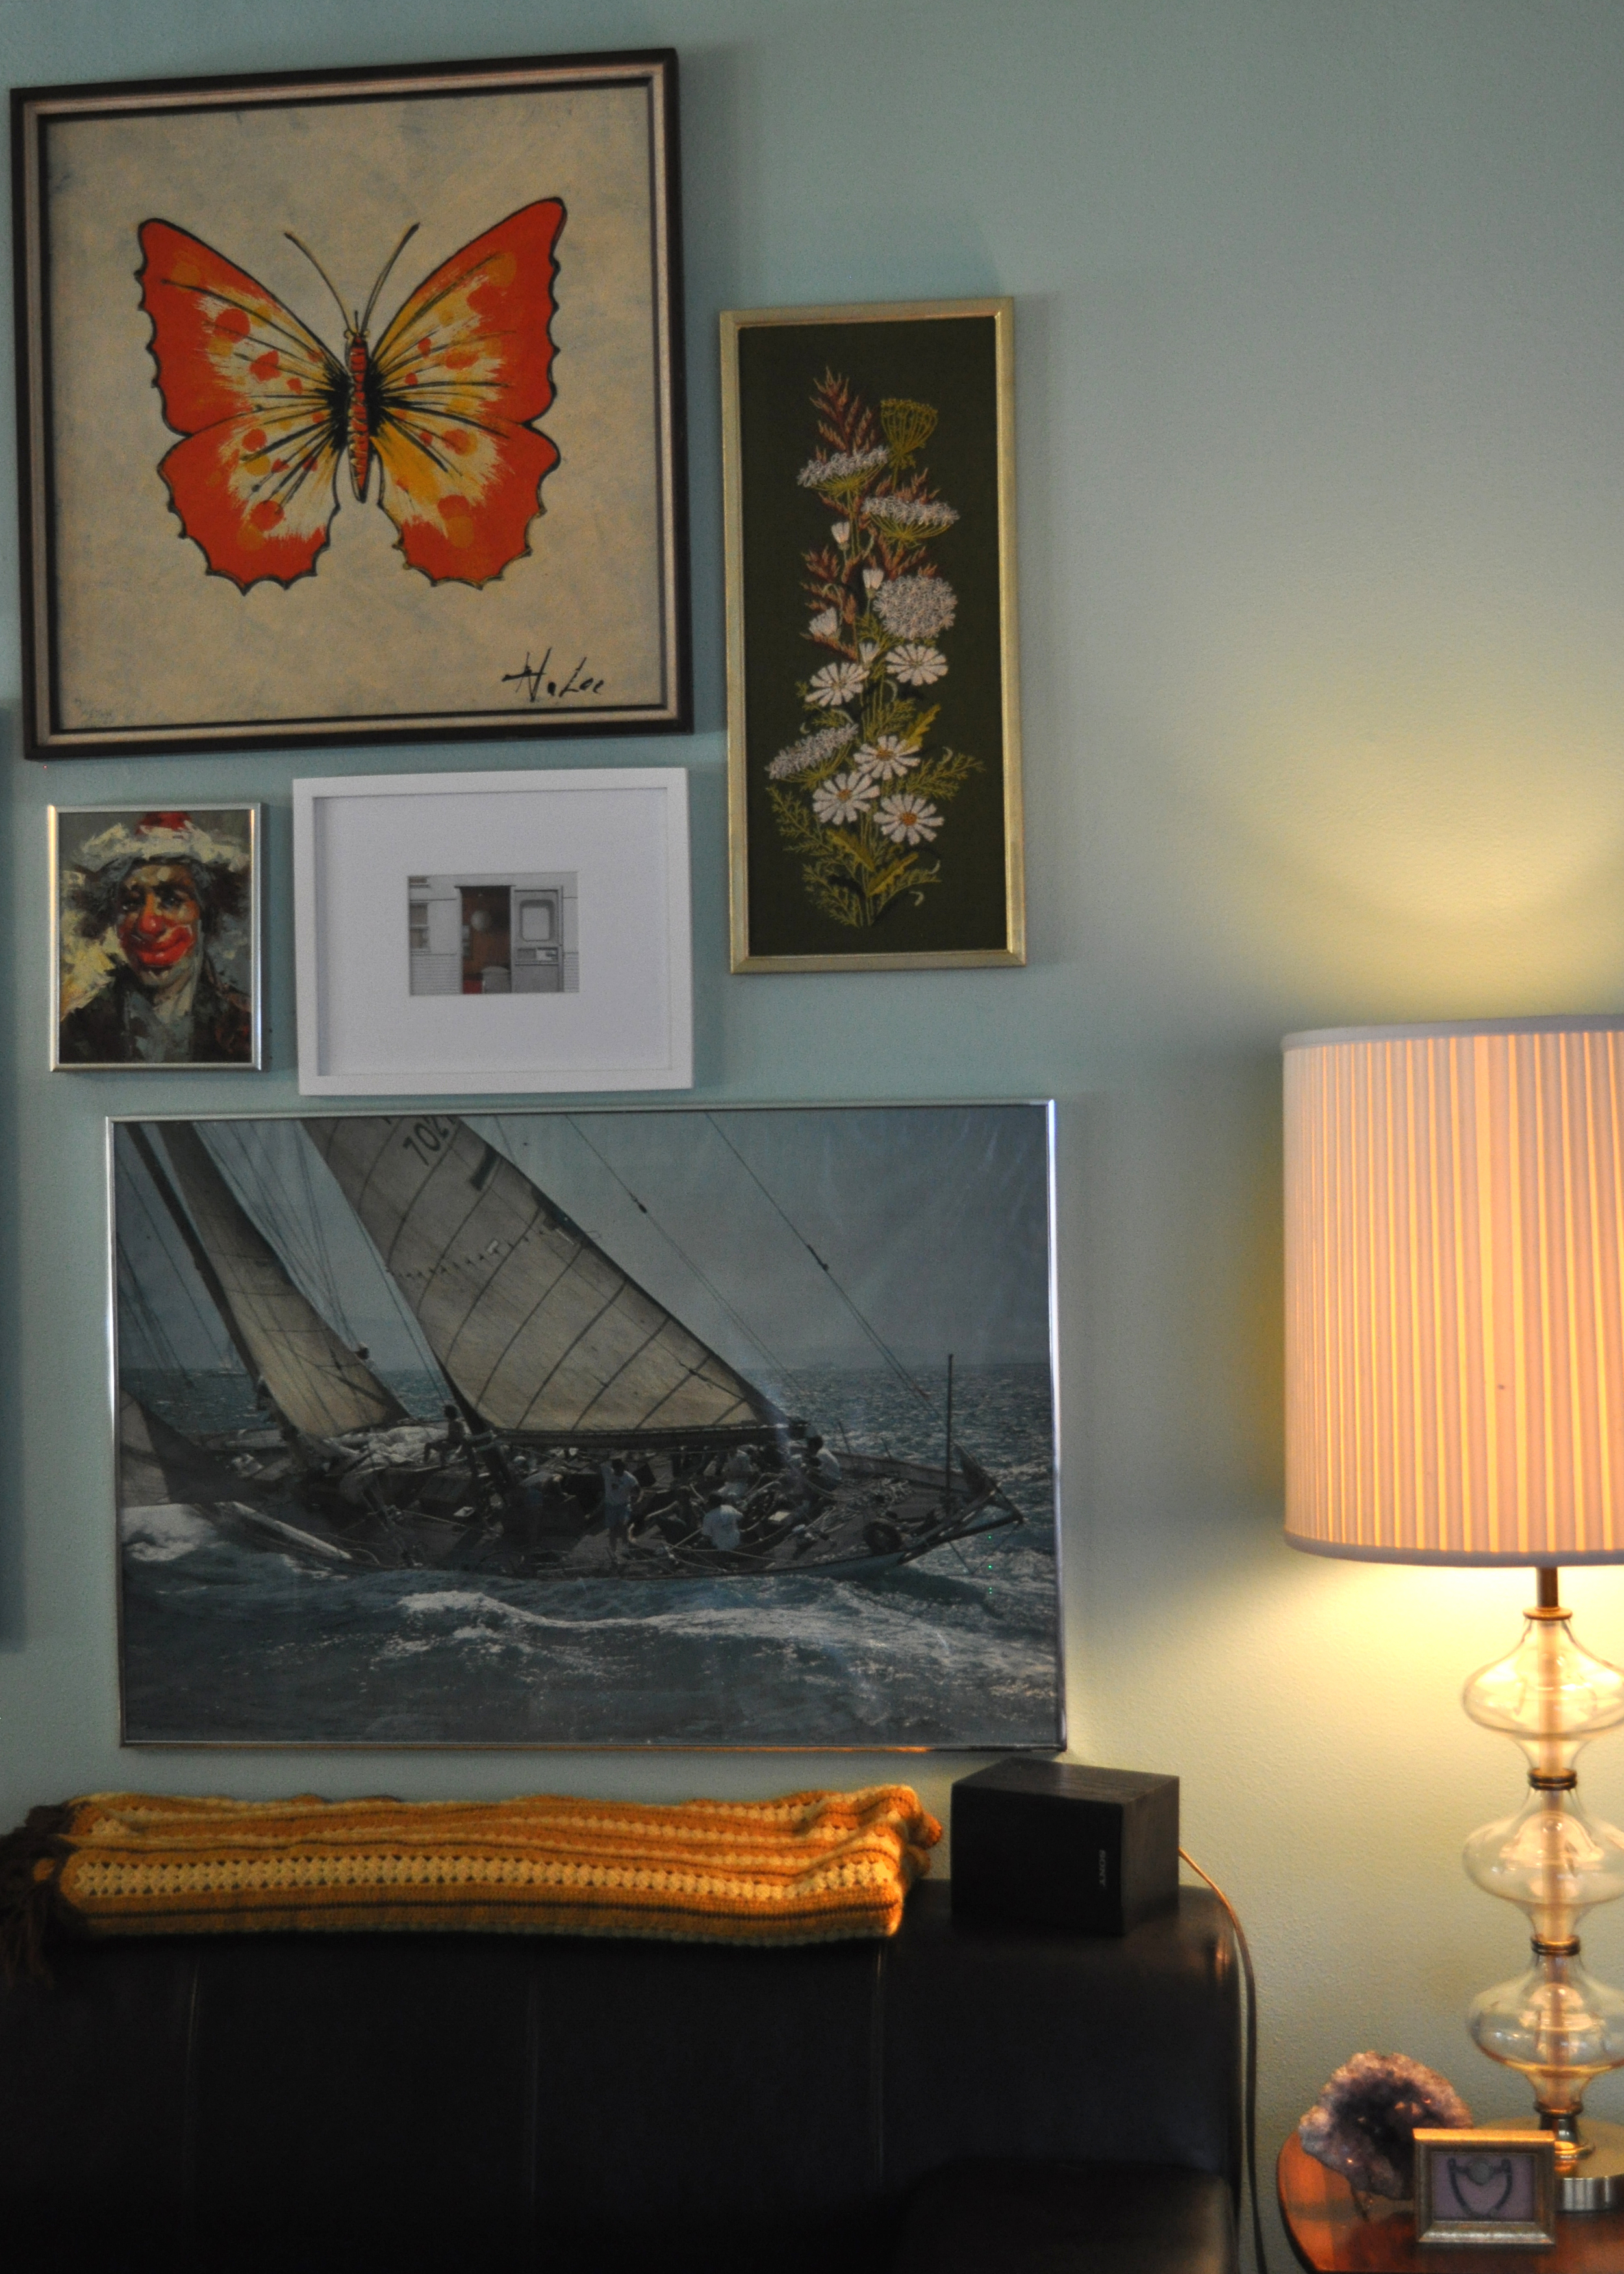
Gallery Walled.
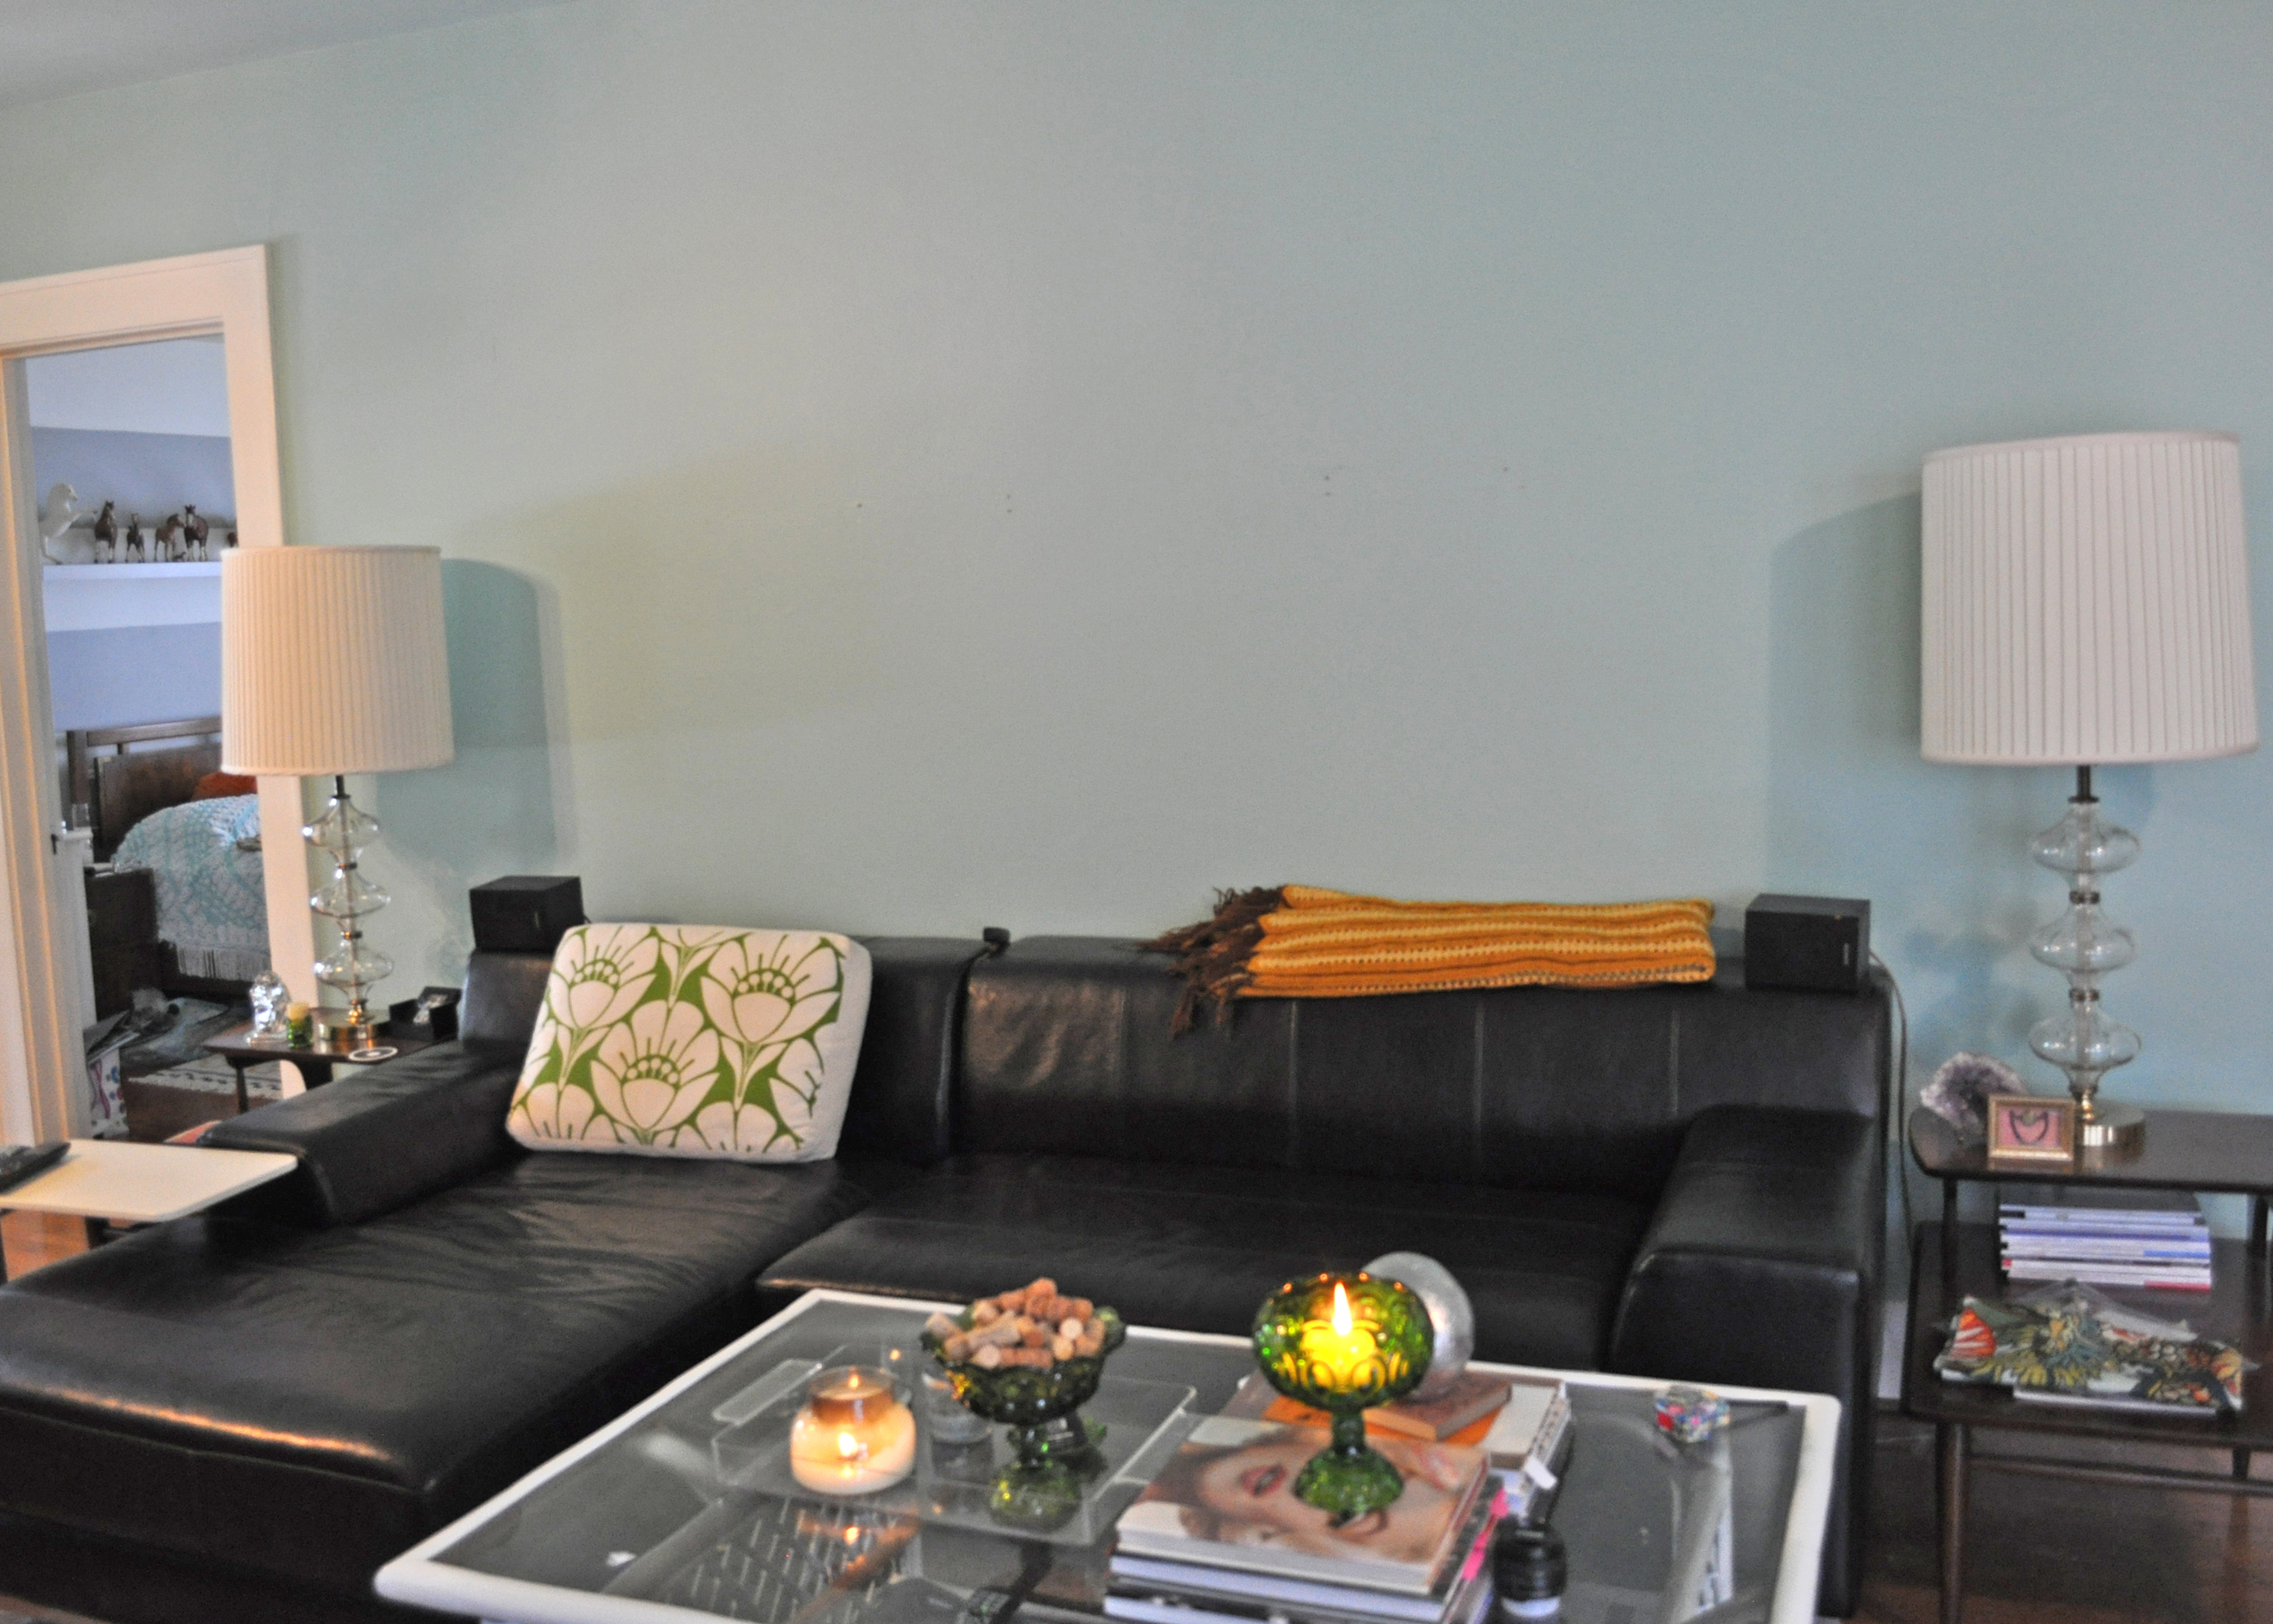
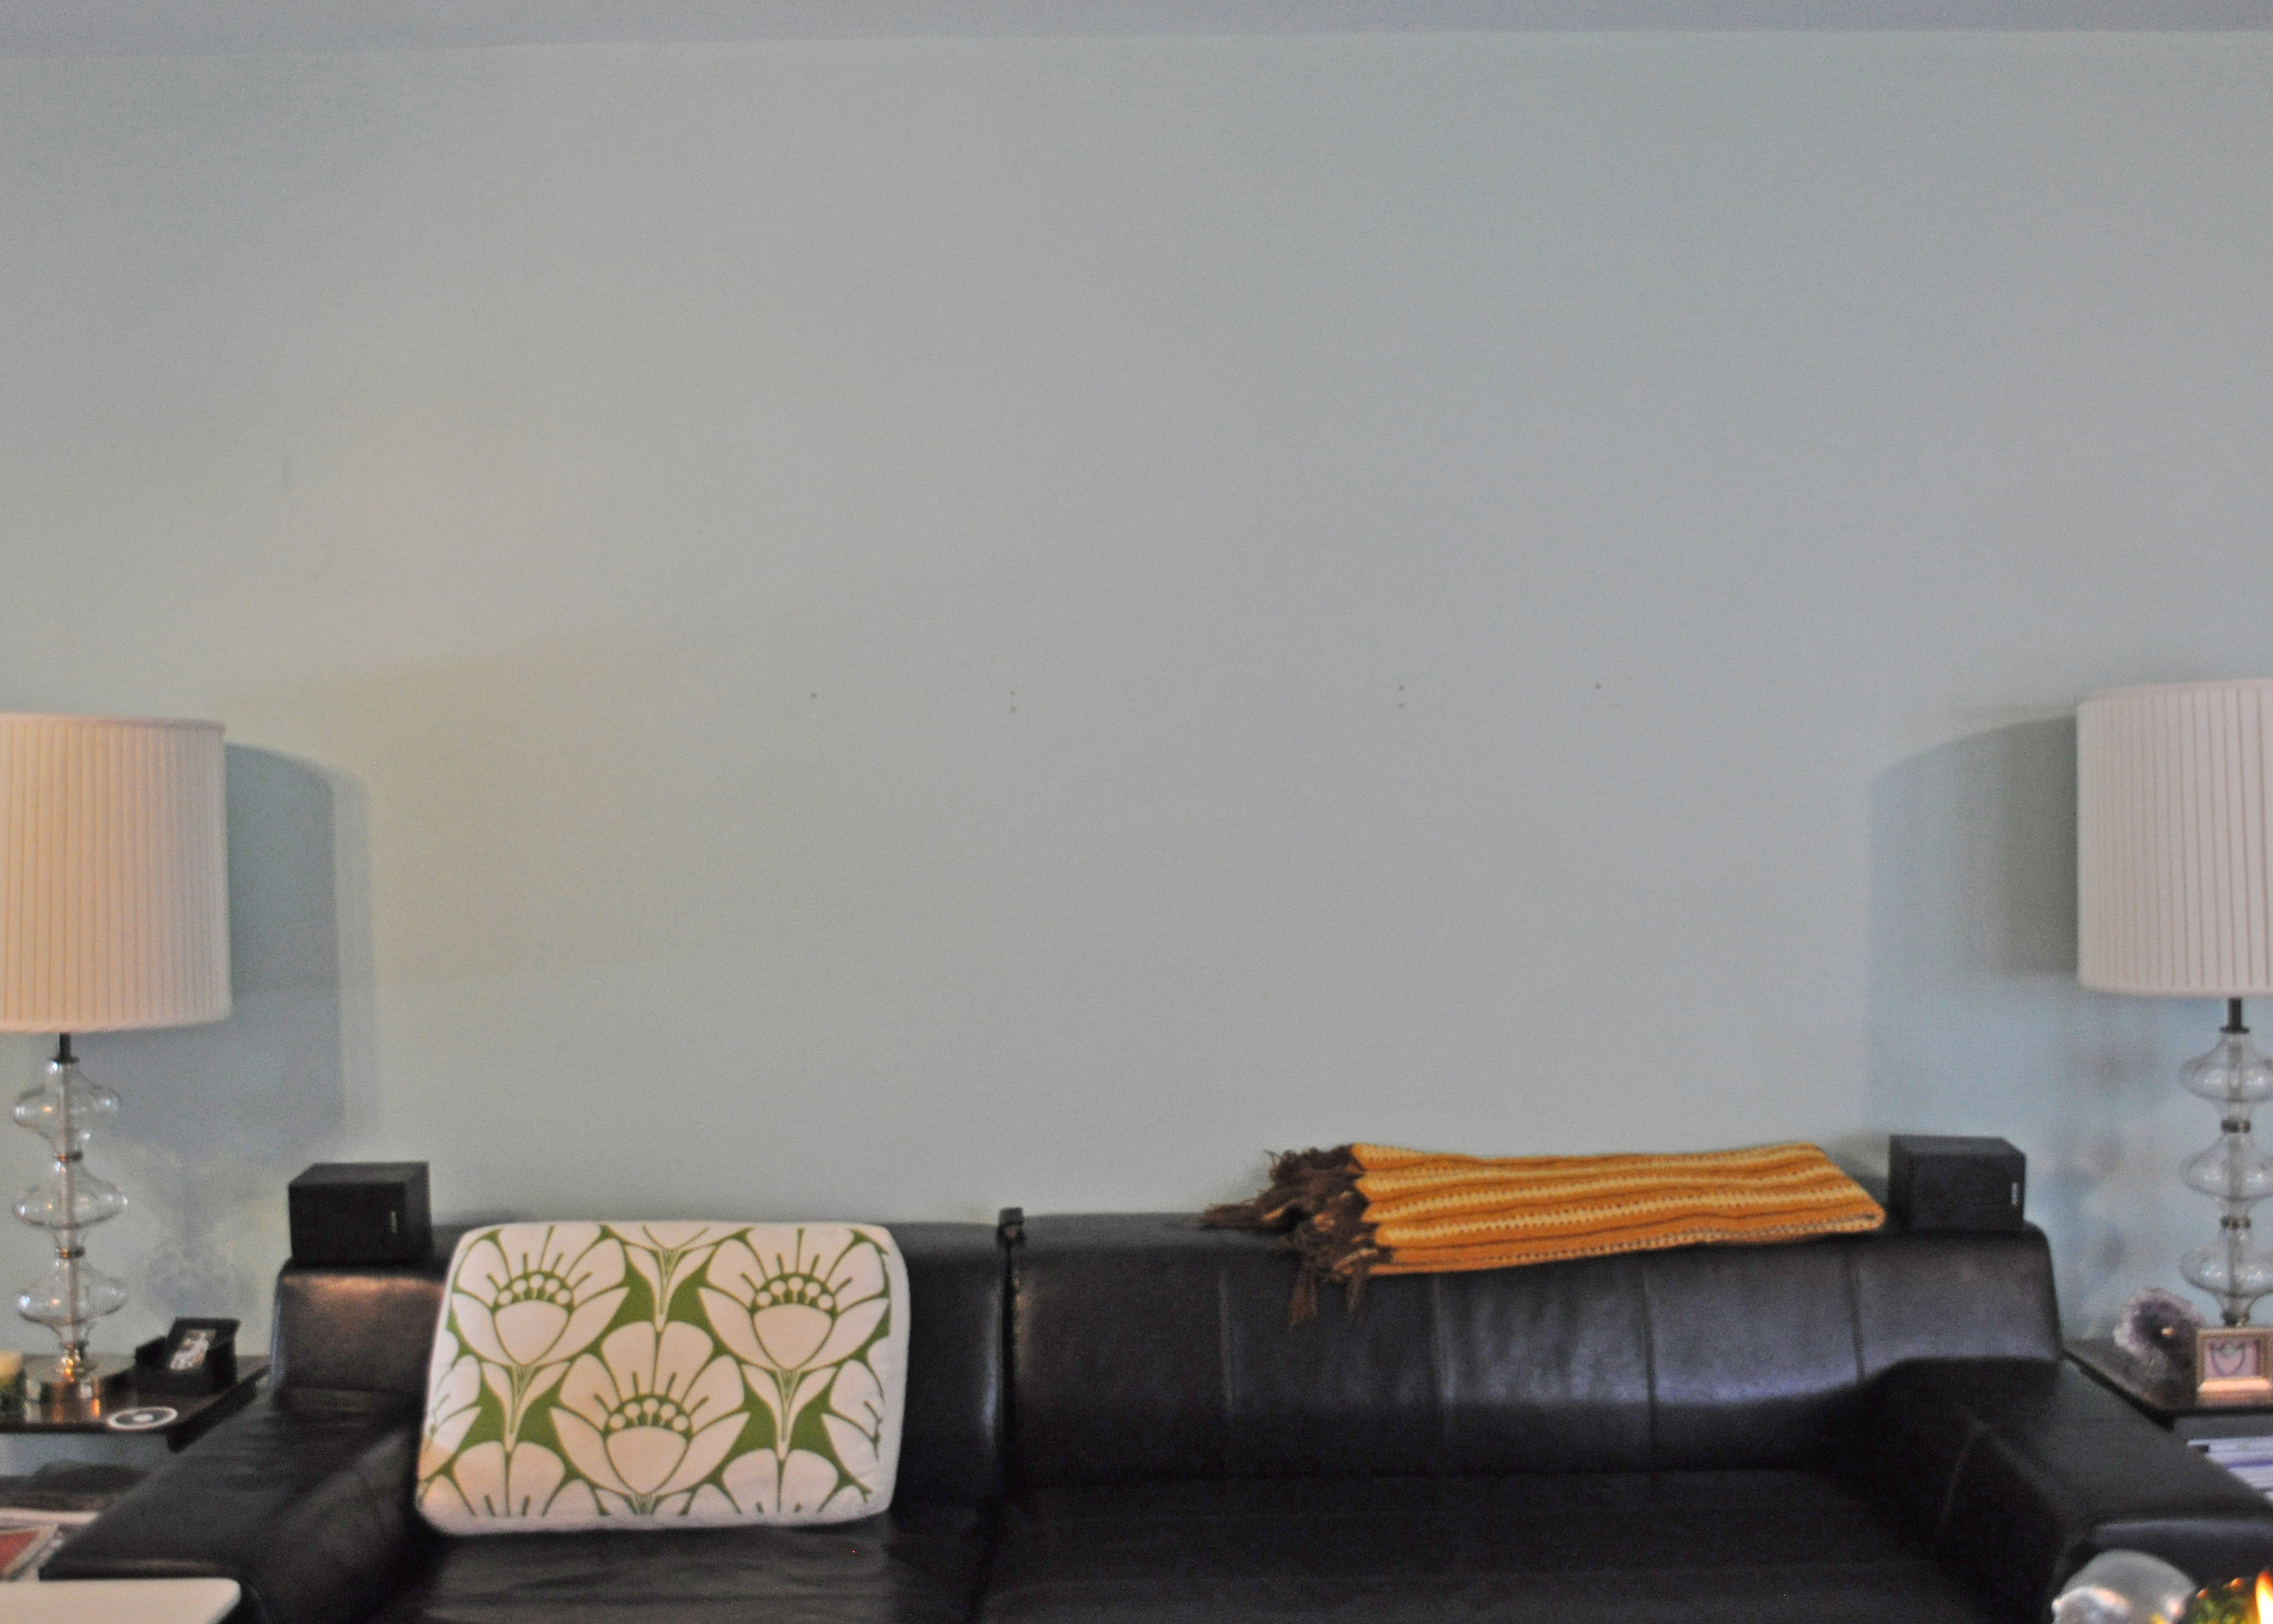
This is what I'm starting with, a large empty wall. We've been in our little bungalow for almost 2 years & I'm finally getting to decorating. So often my head is filled with designs & ideas for all of my clients, leaving little room for my own home. I miss decorating for me though, so I'll be posting my house more often as I get to my mile long list of projects.
I measured the wall, the space that I want the pictures to fill. I wanted the pictures to go to the ceiling to raise your eye making the ceiling seem taller. I chose a random mix of my favorite images. I laid them out together adding & pulling pictures till I had it just right, to me. It'd be great to do a gallery wall of a collection as well, say all portraits or black & whites. I've seen groups of paint-by-numbers all hung together that turned out cute.
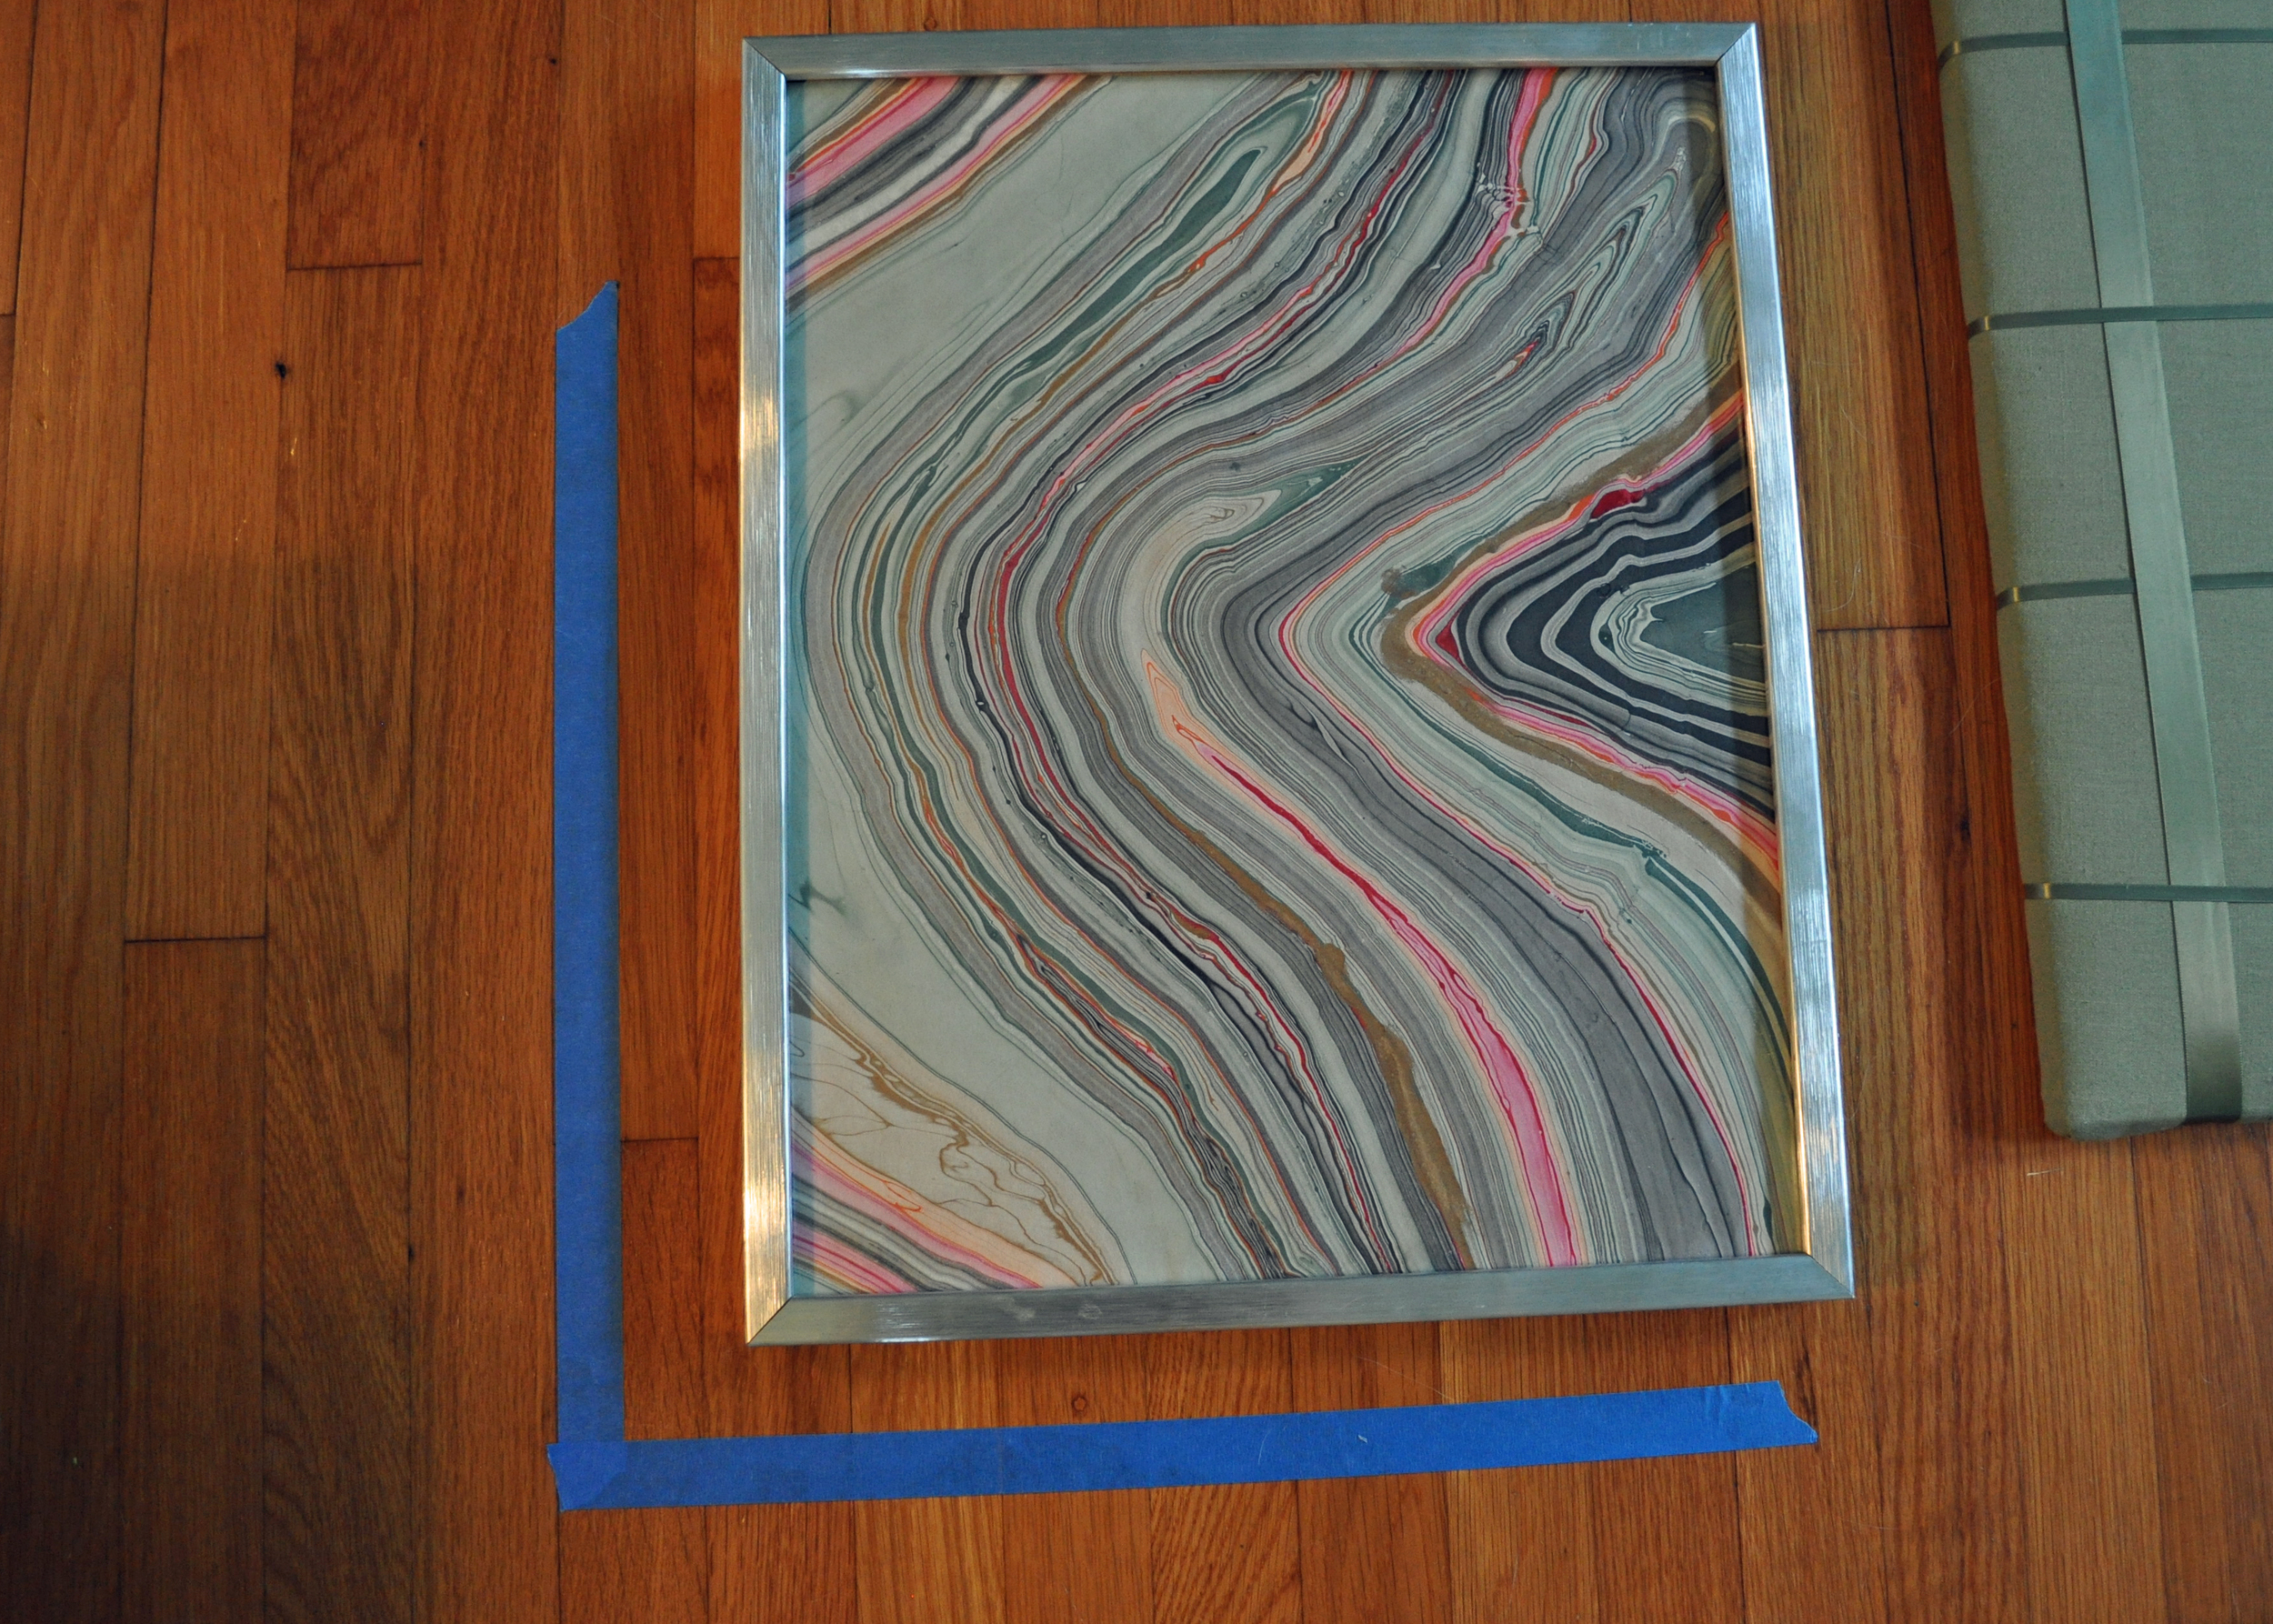
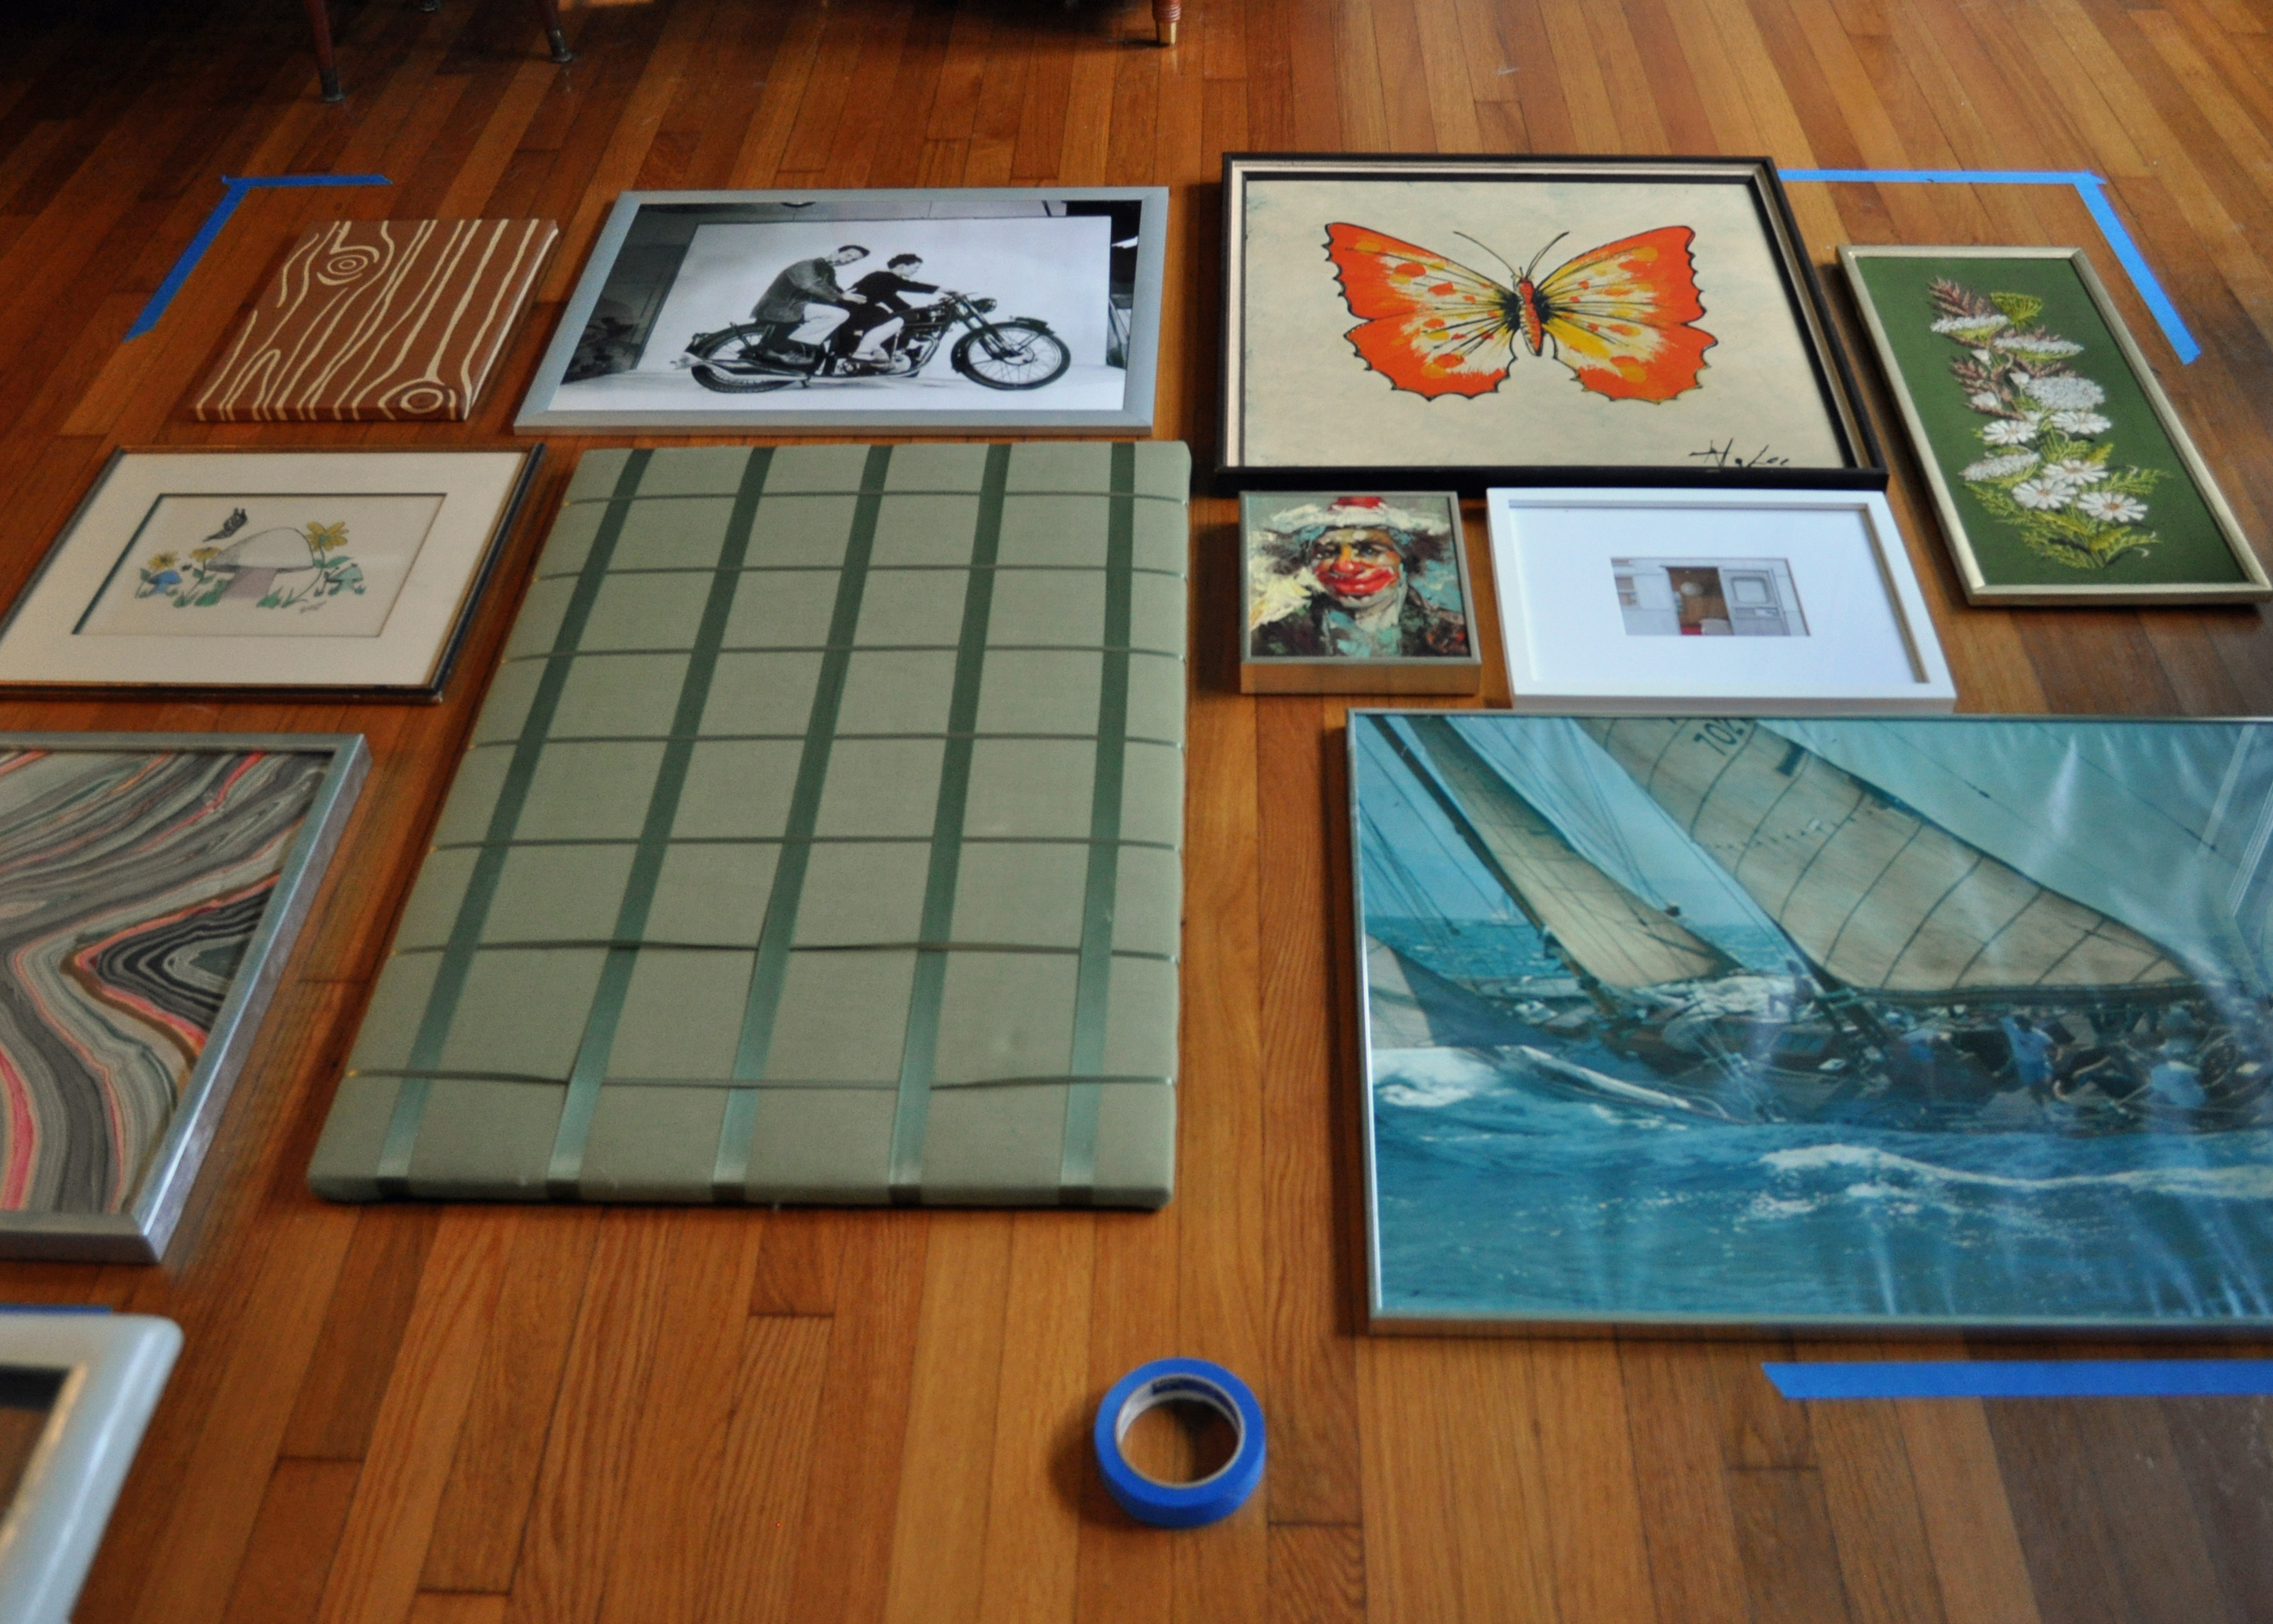
On the floor I measured out the size of the space from the wall. I blue taped the corners so I knew when I was laying out pictures seeing what I liked just how big I could make it. I wasn't super precise, trust your eye, you know what looks good.
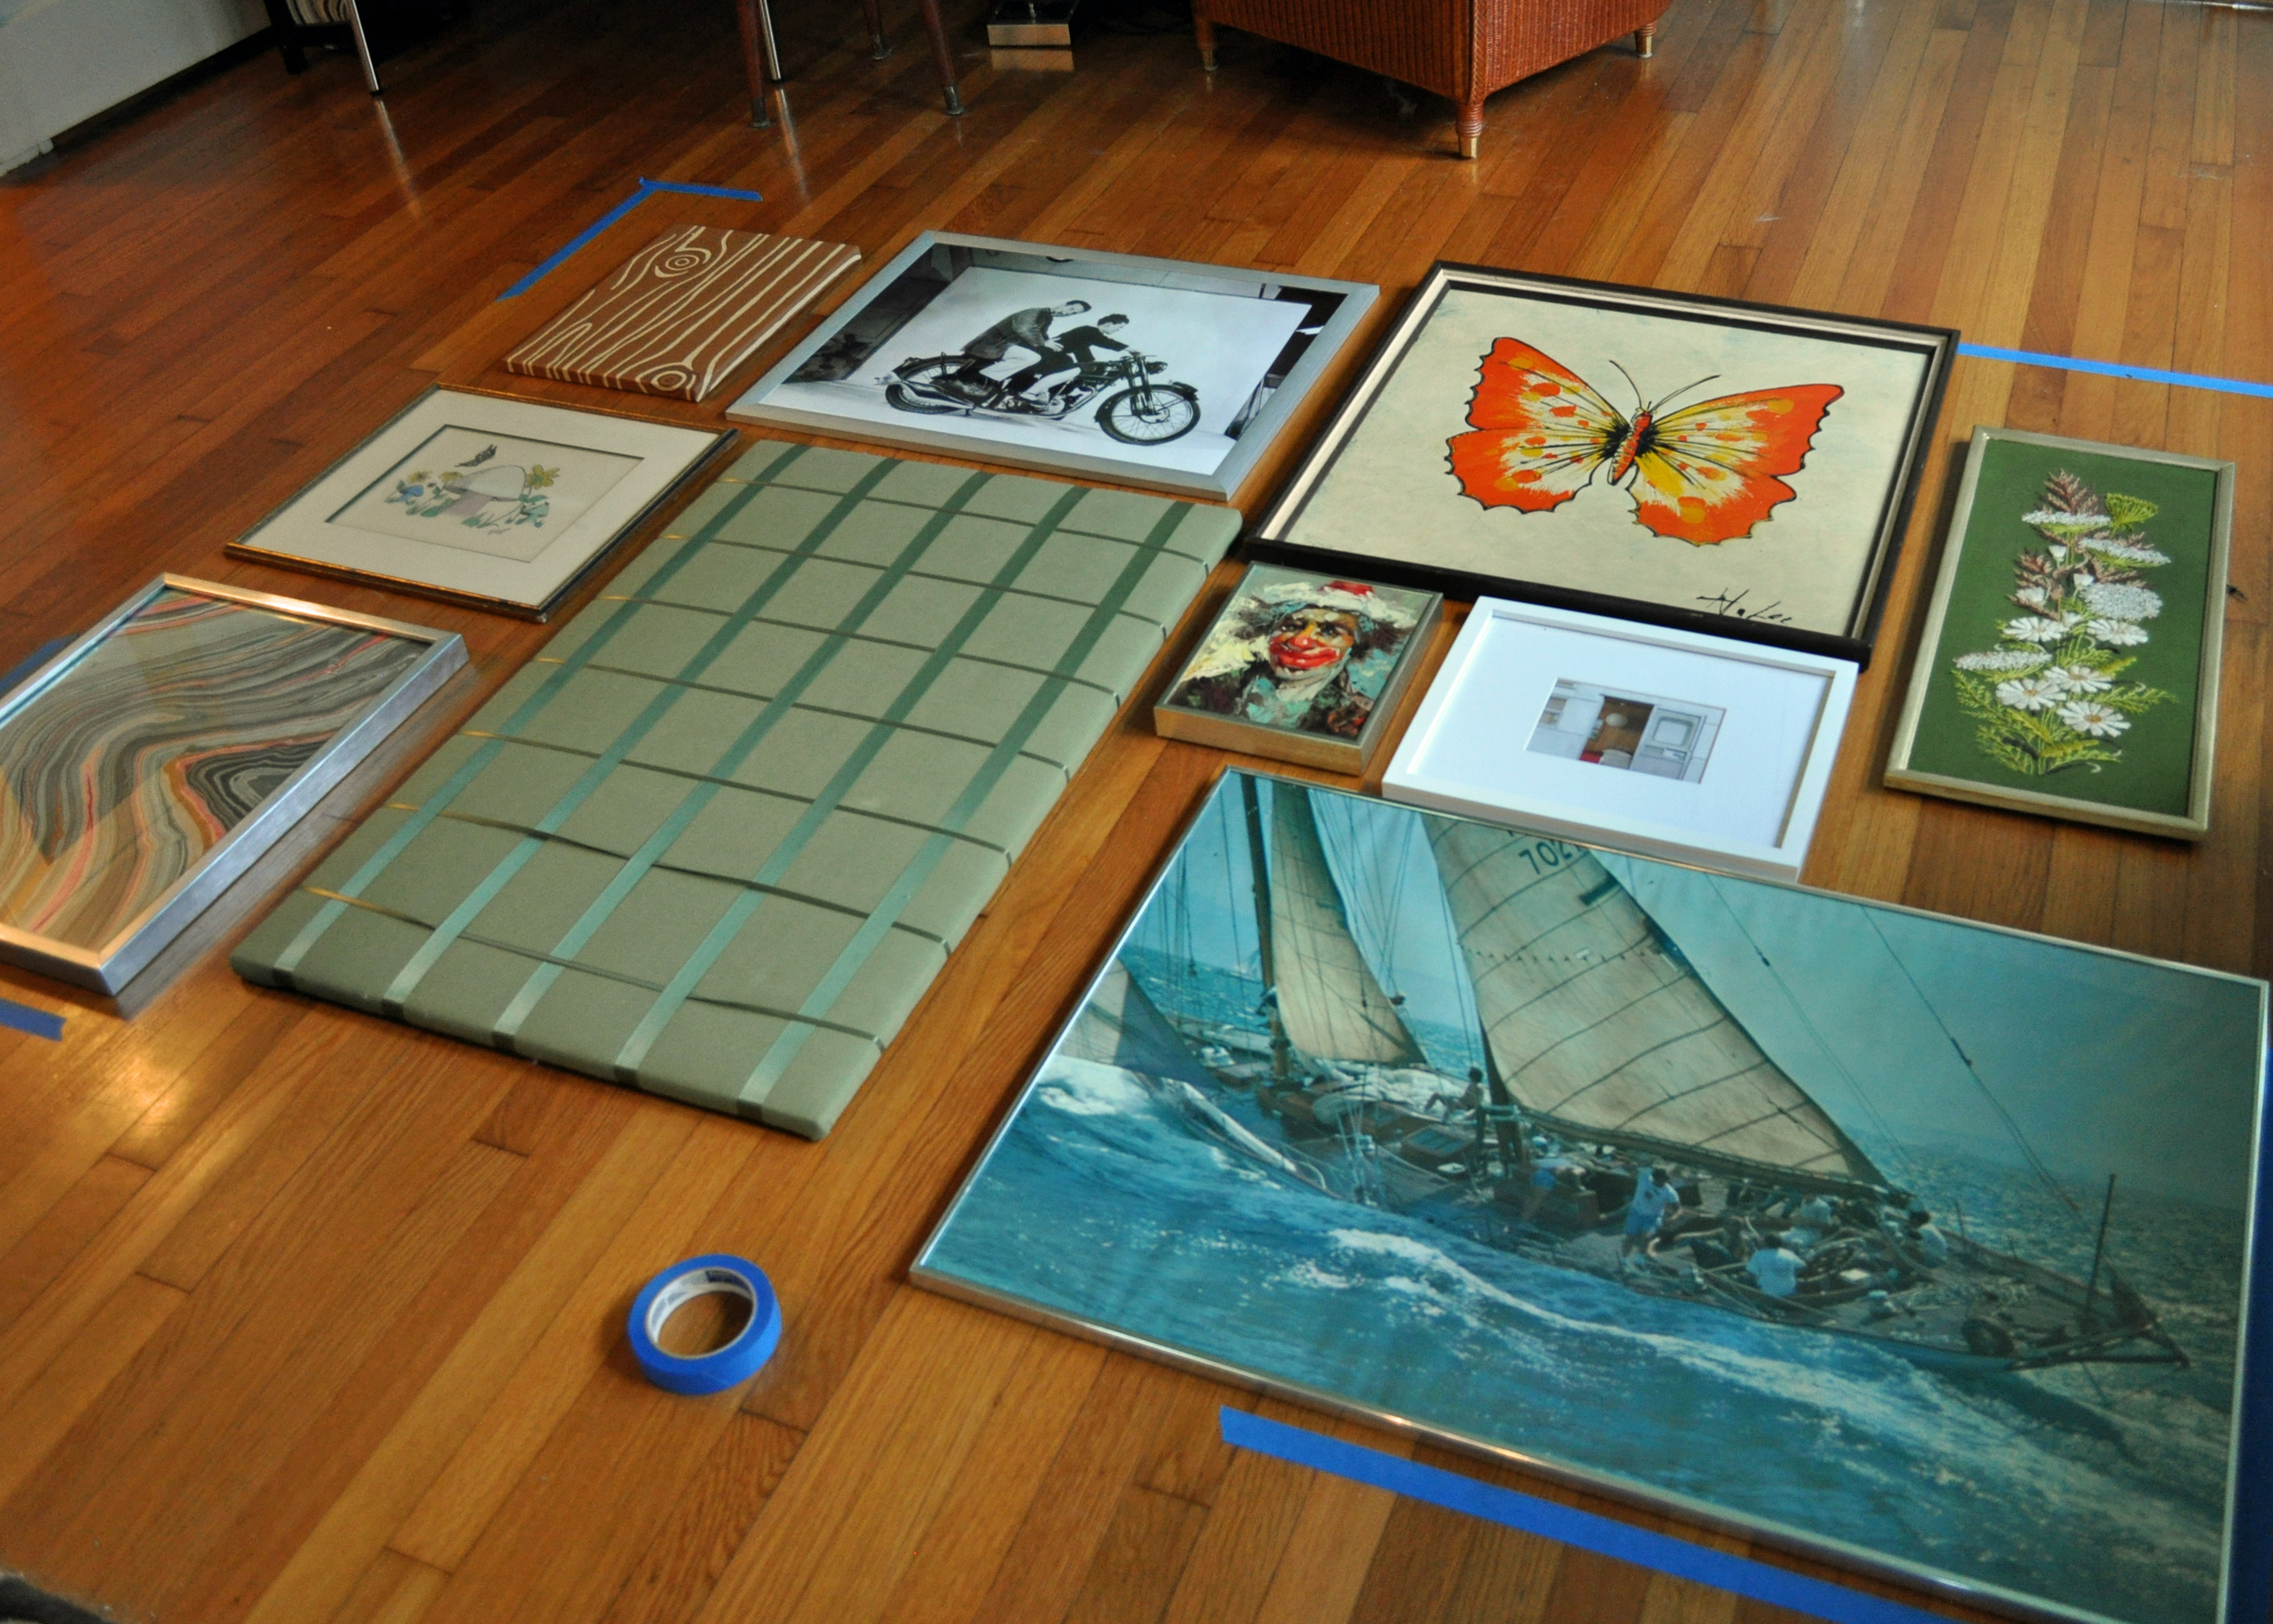
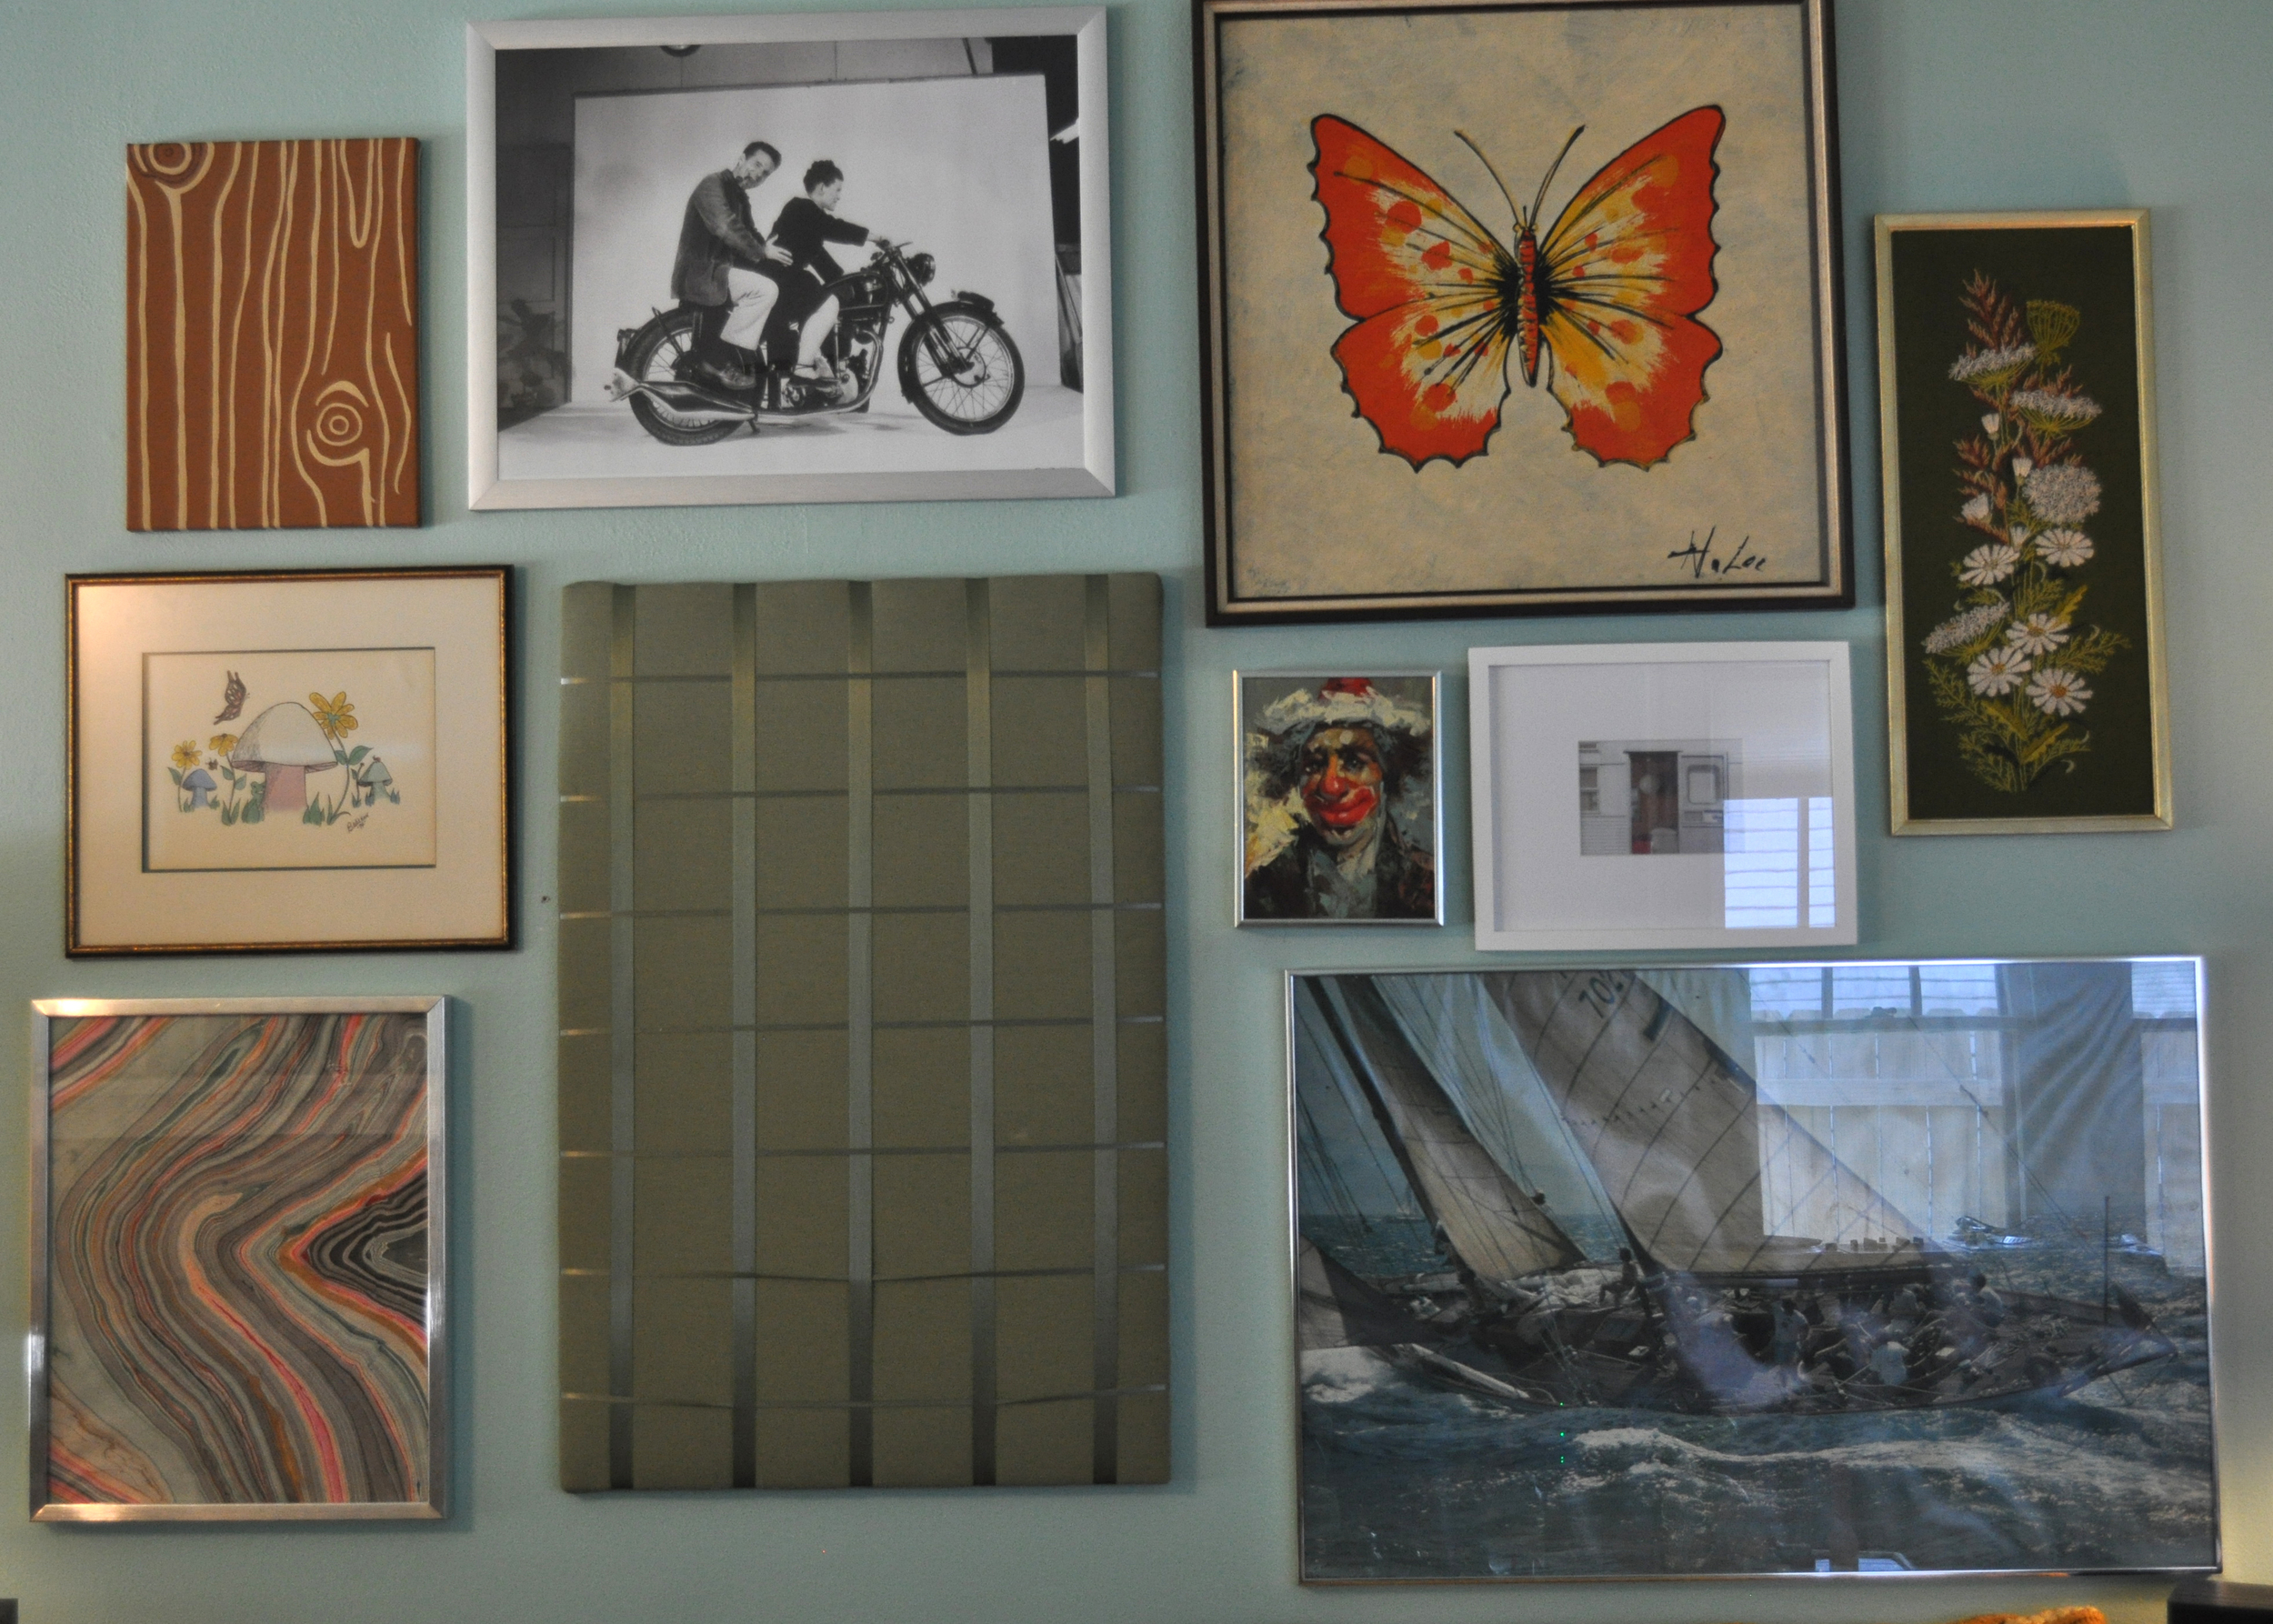
Here is the approximate layout that I like. I plan on updating & replacing so some of these are placeholders for now. Laying them out on the floor before you begin hanging is very important. I've seen "how tos" that use kraft paper cut to the size of the art hung to the wall. That's a great idea, but still lay the art out on the floor first. You need to see how colors & frame finishes work with each other. I did not use kraft paper, I'm much to lazy & not type A to do such a thing, but if it'll help you then by all means do it.
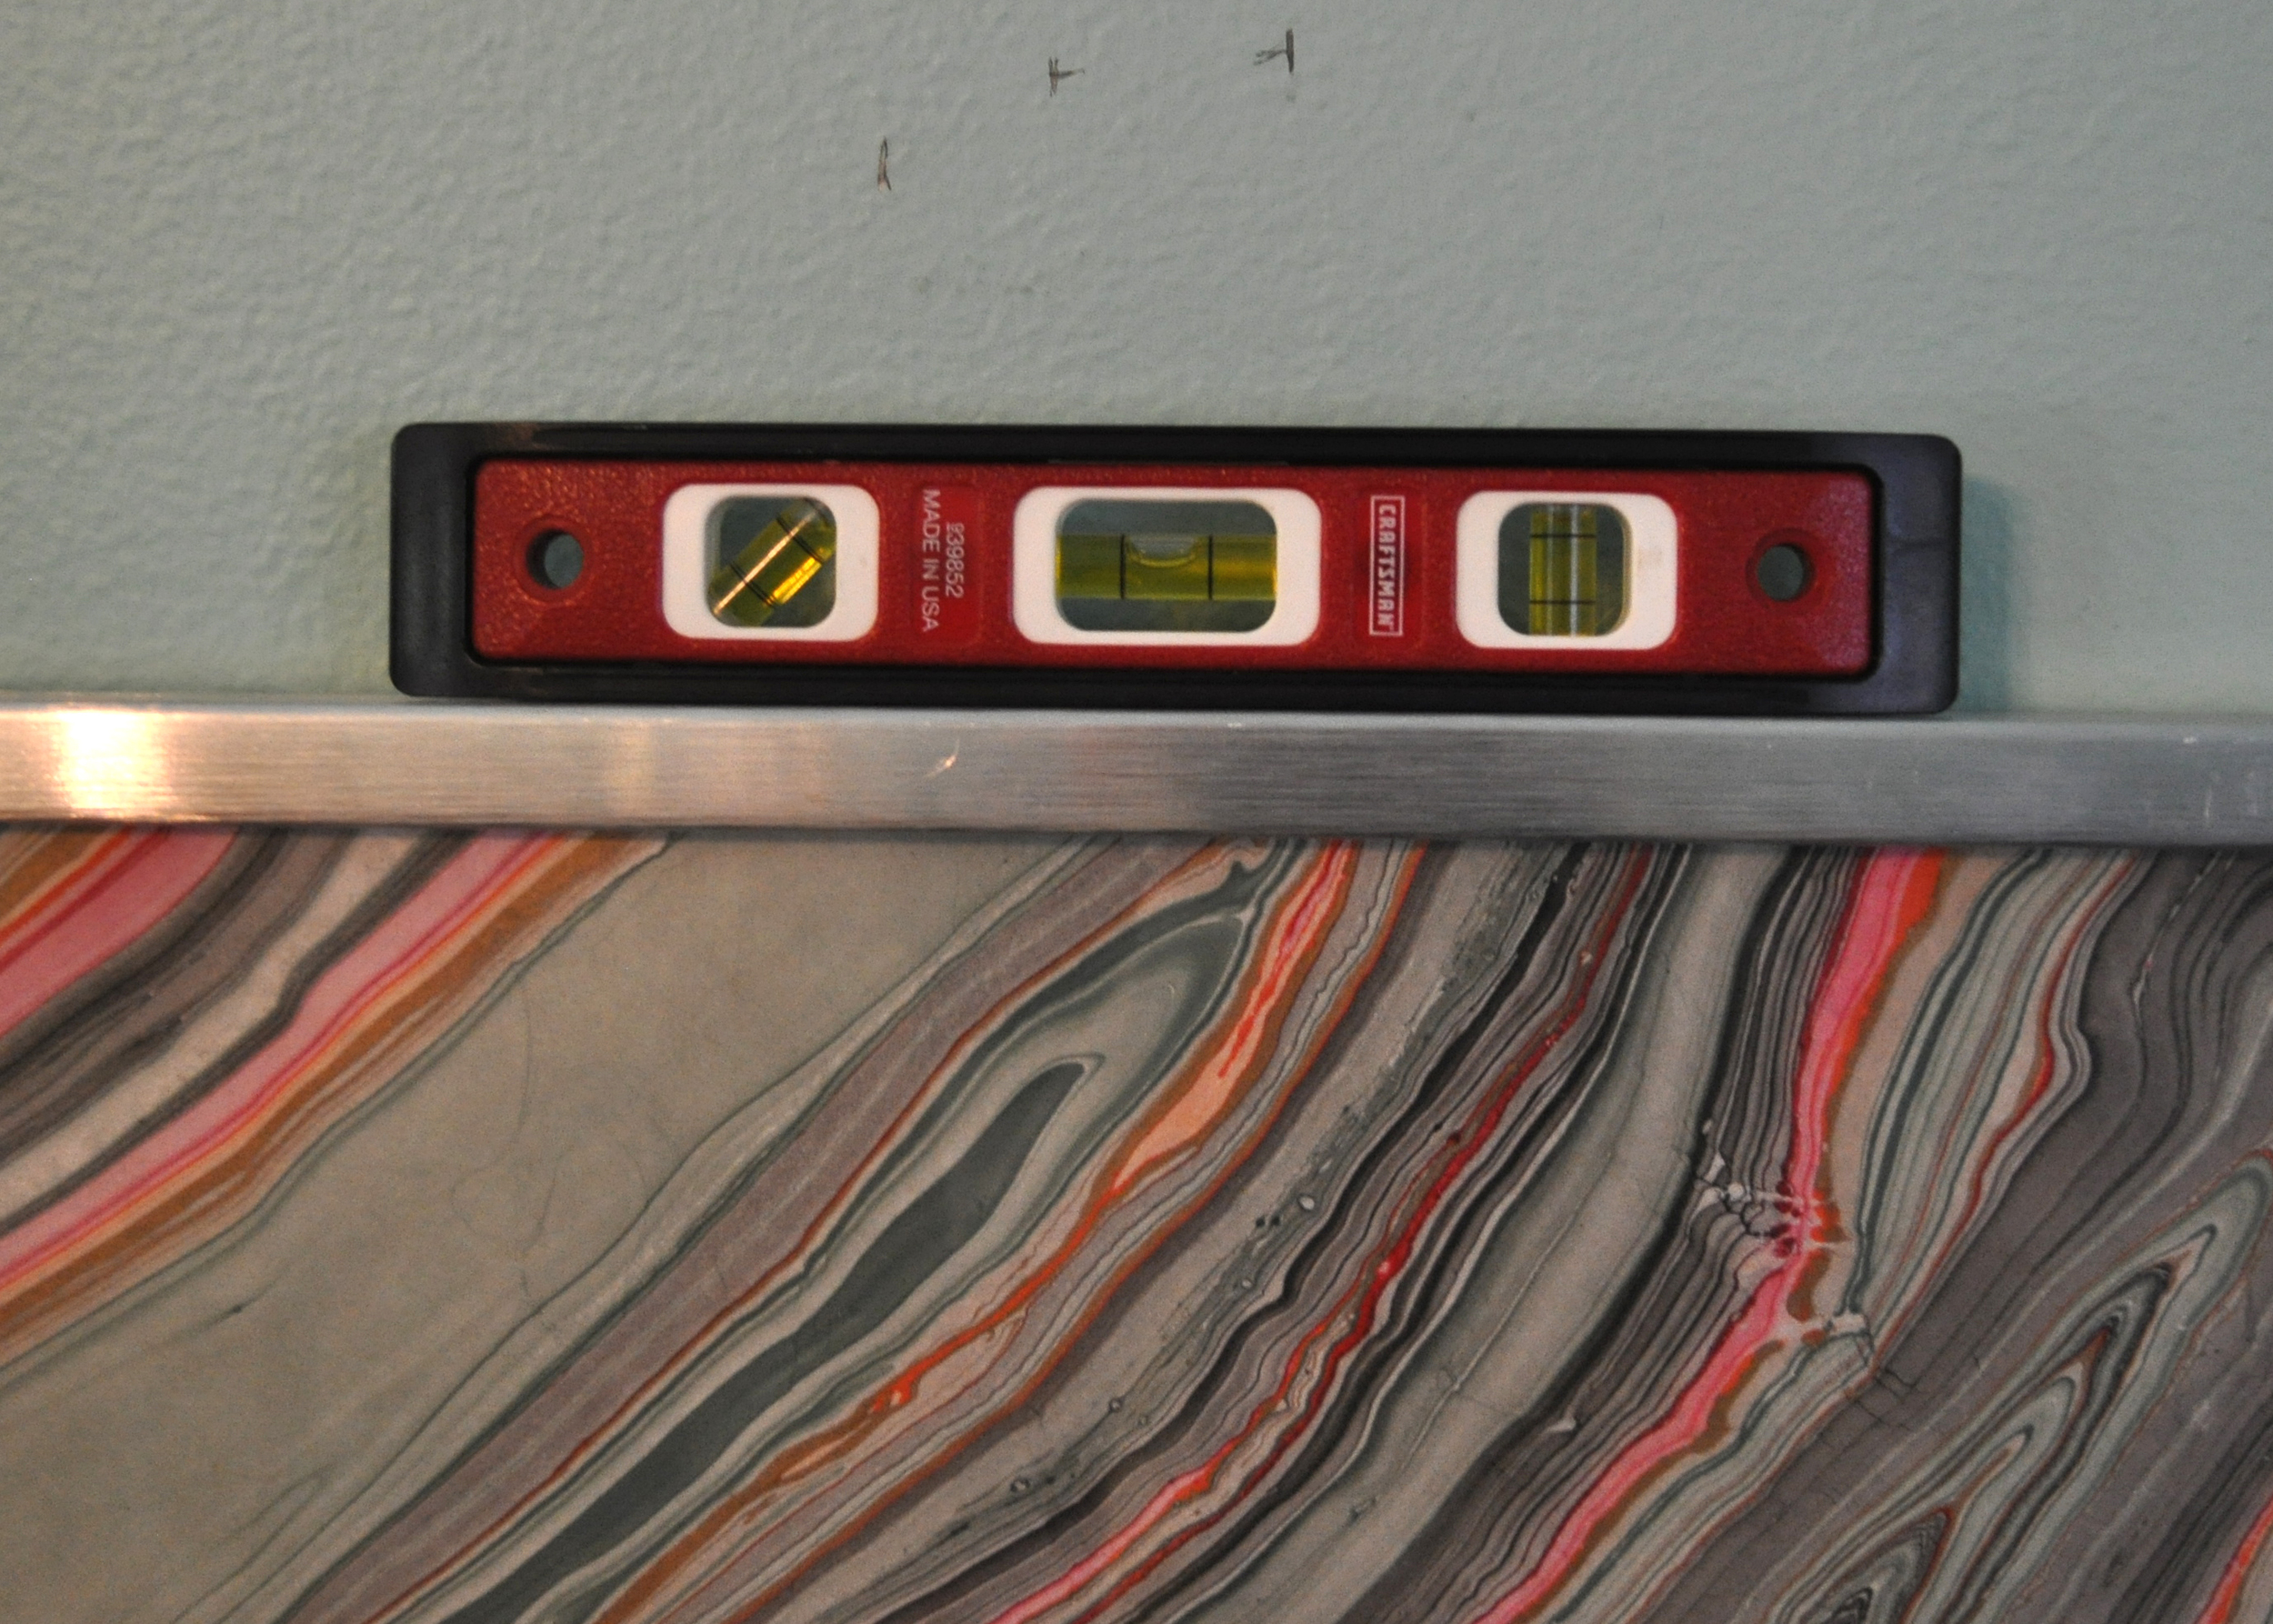
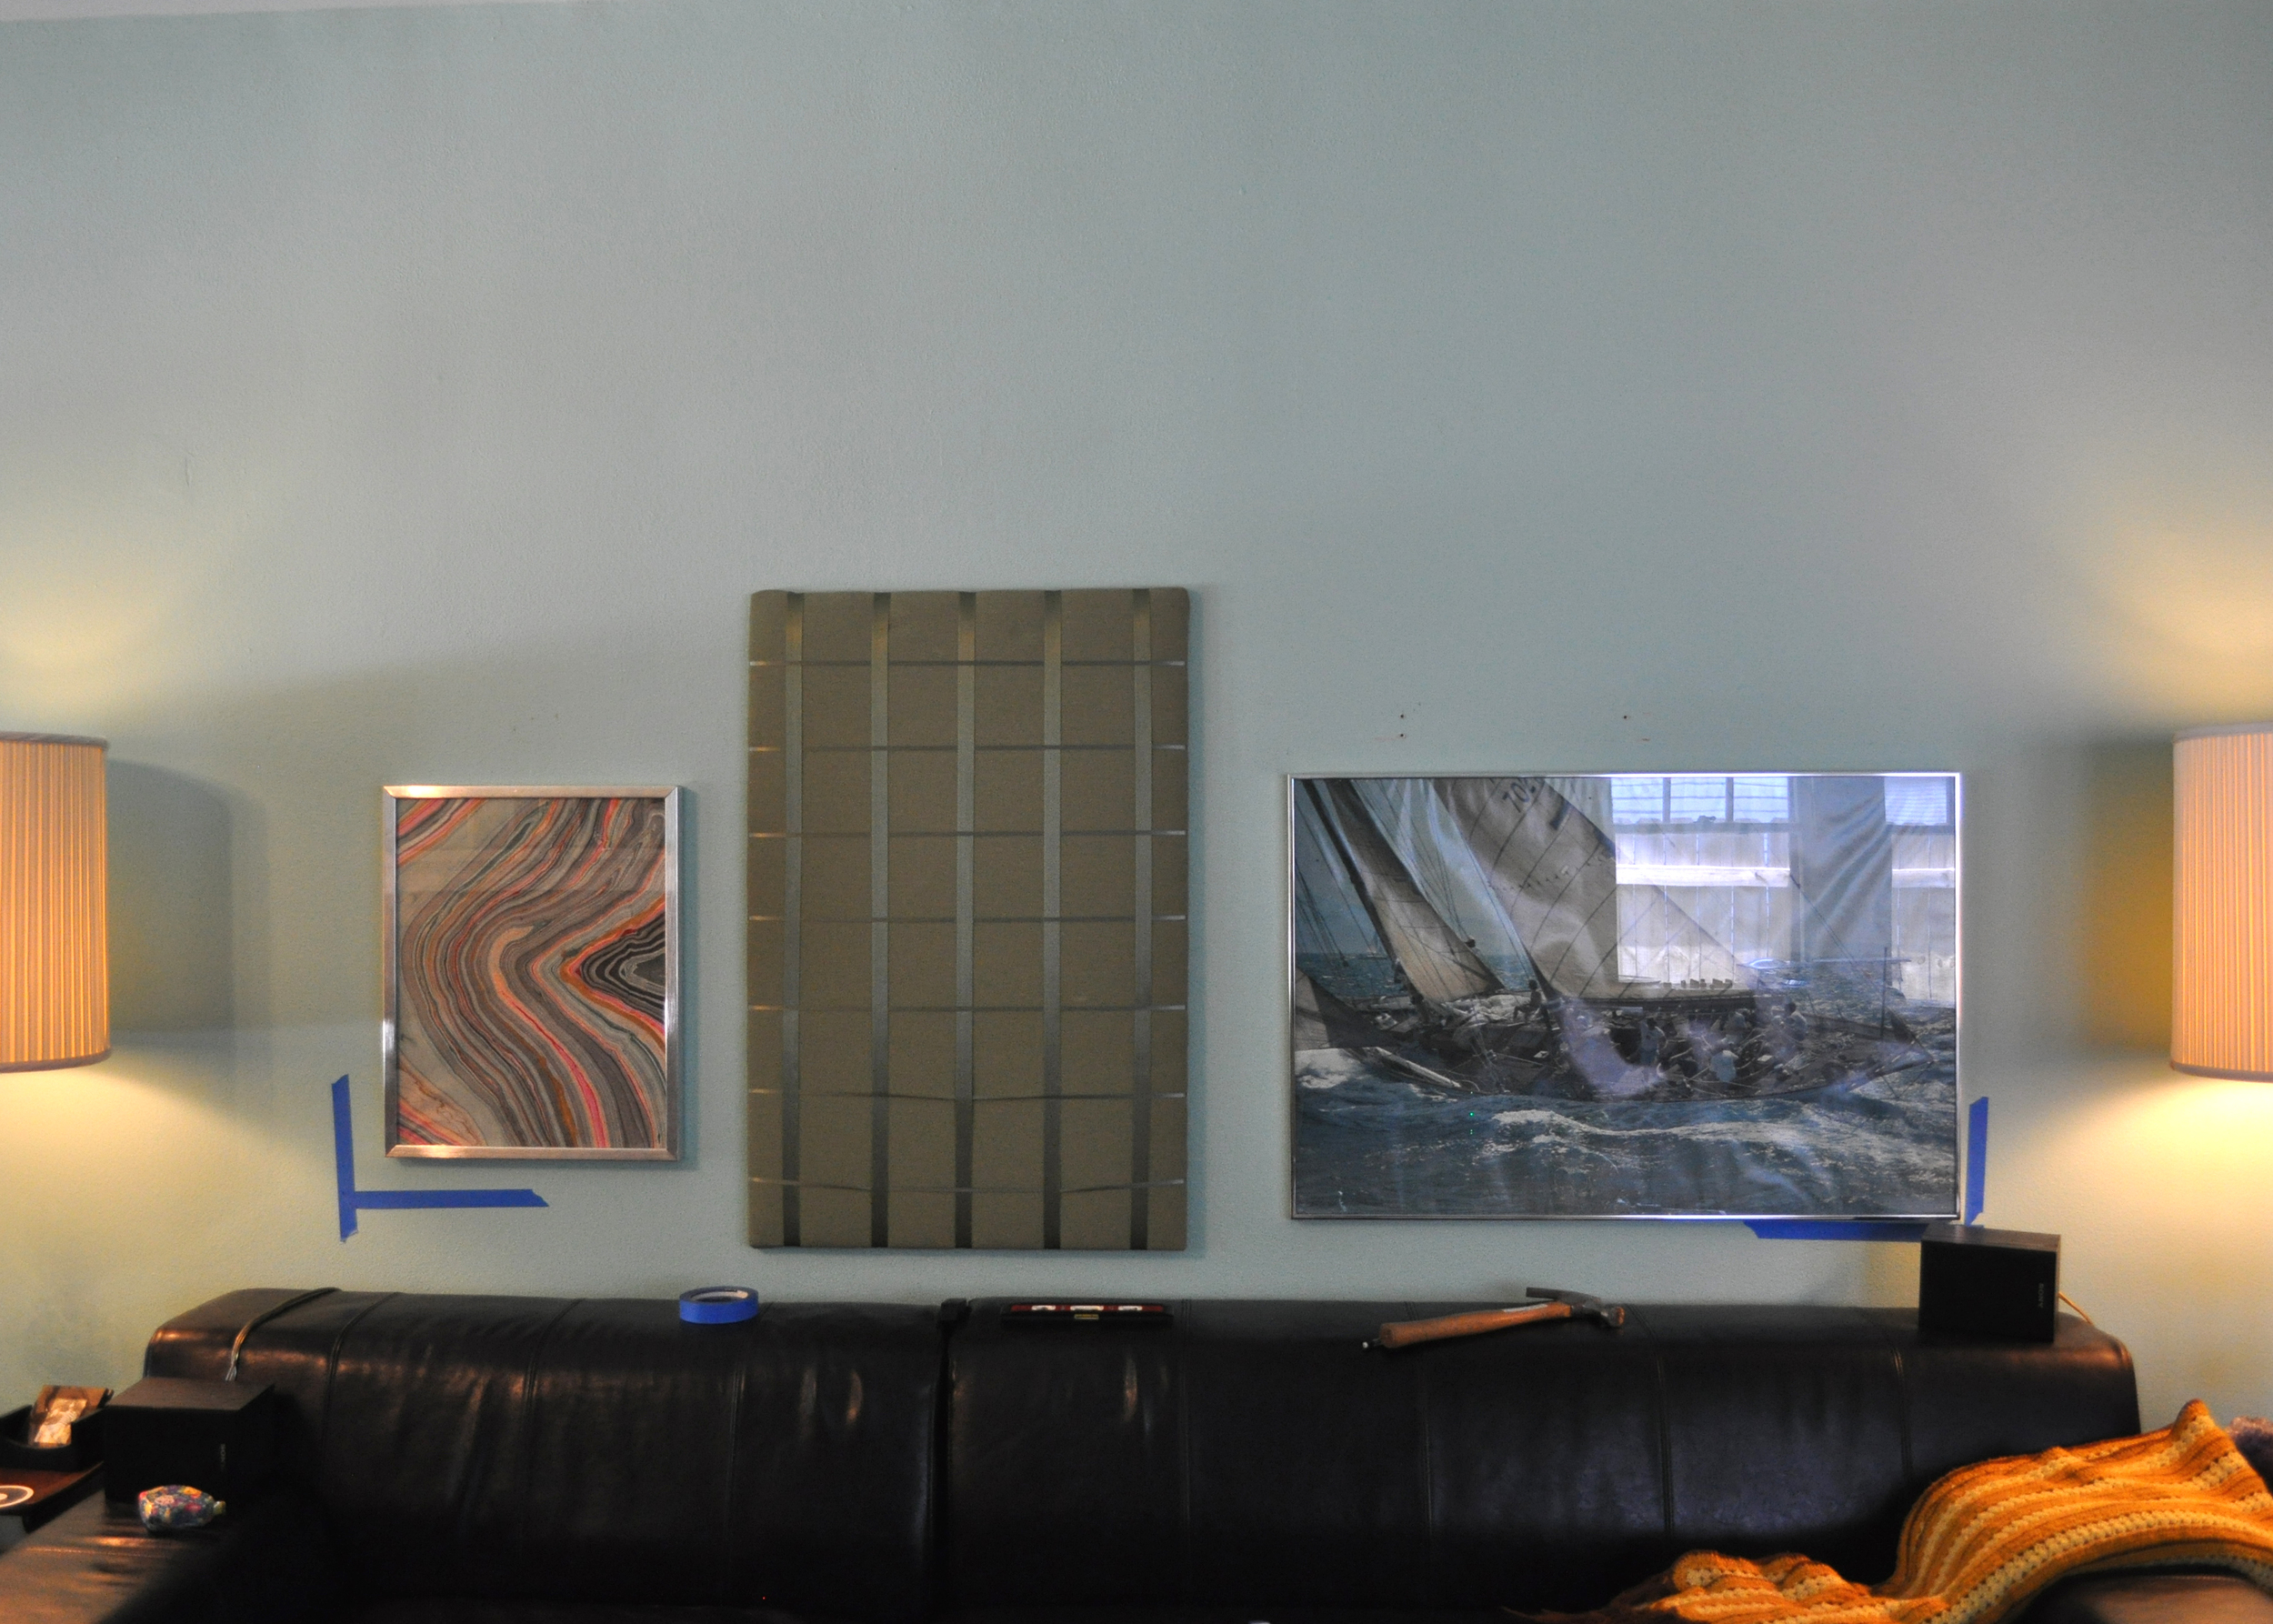
Once I got the layout how I wanted it I did the same blue tape placeholders on the wall. This kept me from going to low or too high with the art. It also gave me a frame of reference for how far apart the pieces were from each other since I didn't use kraft paper cut outs. When I hang a frame I also use hooks or two nails. I use the level when marking with pencil where the nails will go.
I always double check that the piece is level when I'm done hanging it. I do this for every piece of art no matter how small.
I got the first row hung! I started from the bottom & worked my way up the wall. This kept my proportions close to my original plan. {The green thing will be replaced with a piece of art I'm going to make. I know it looks tacky, it's temporary.}
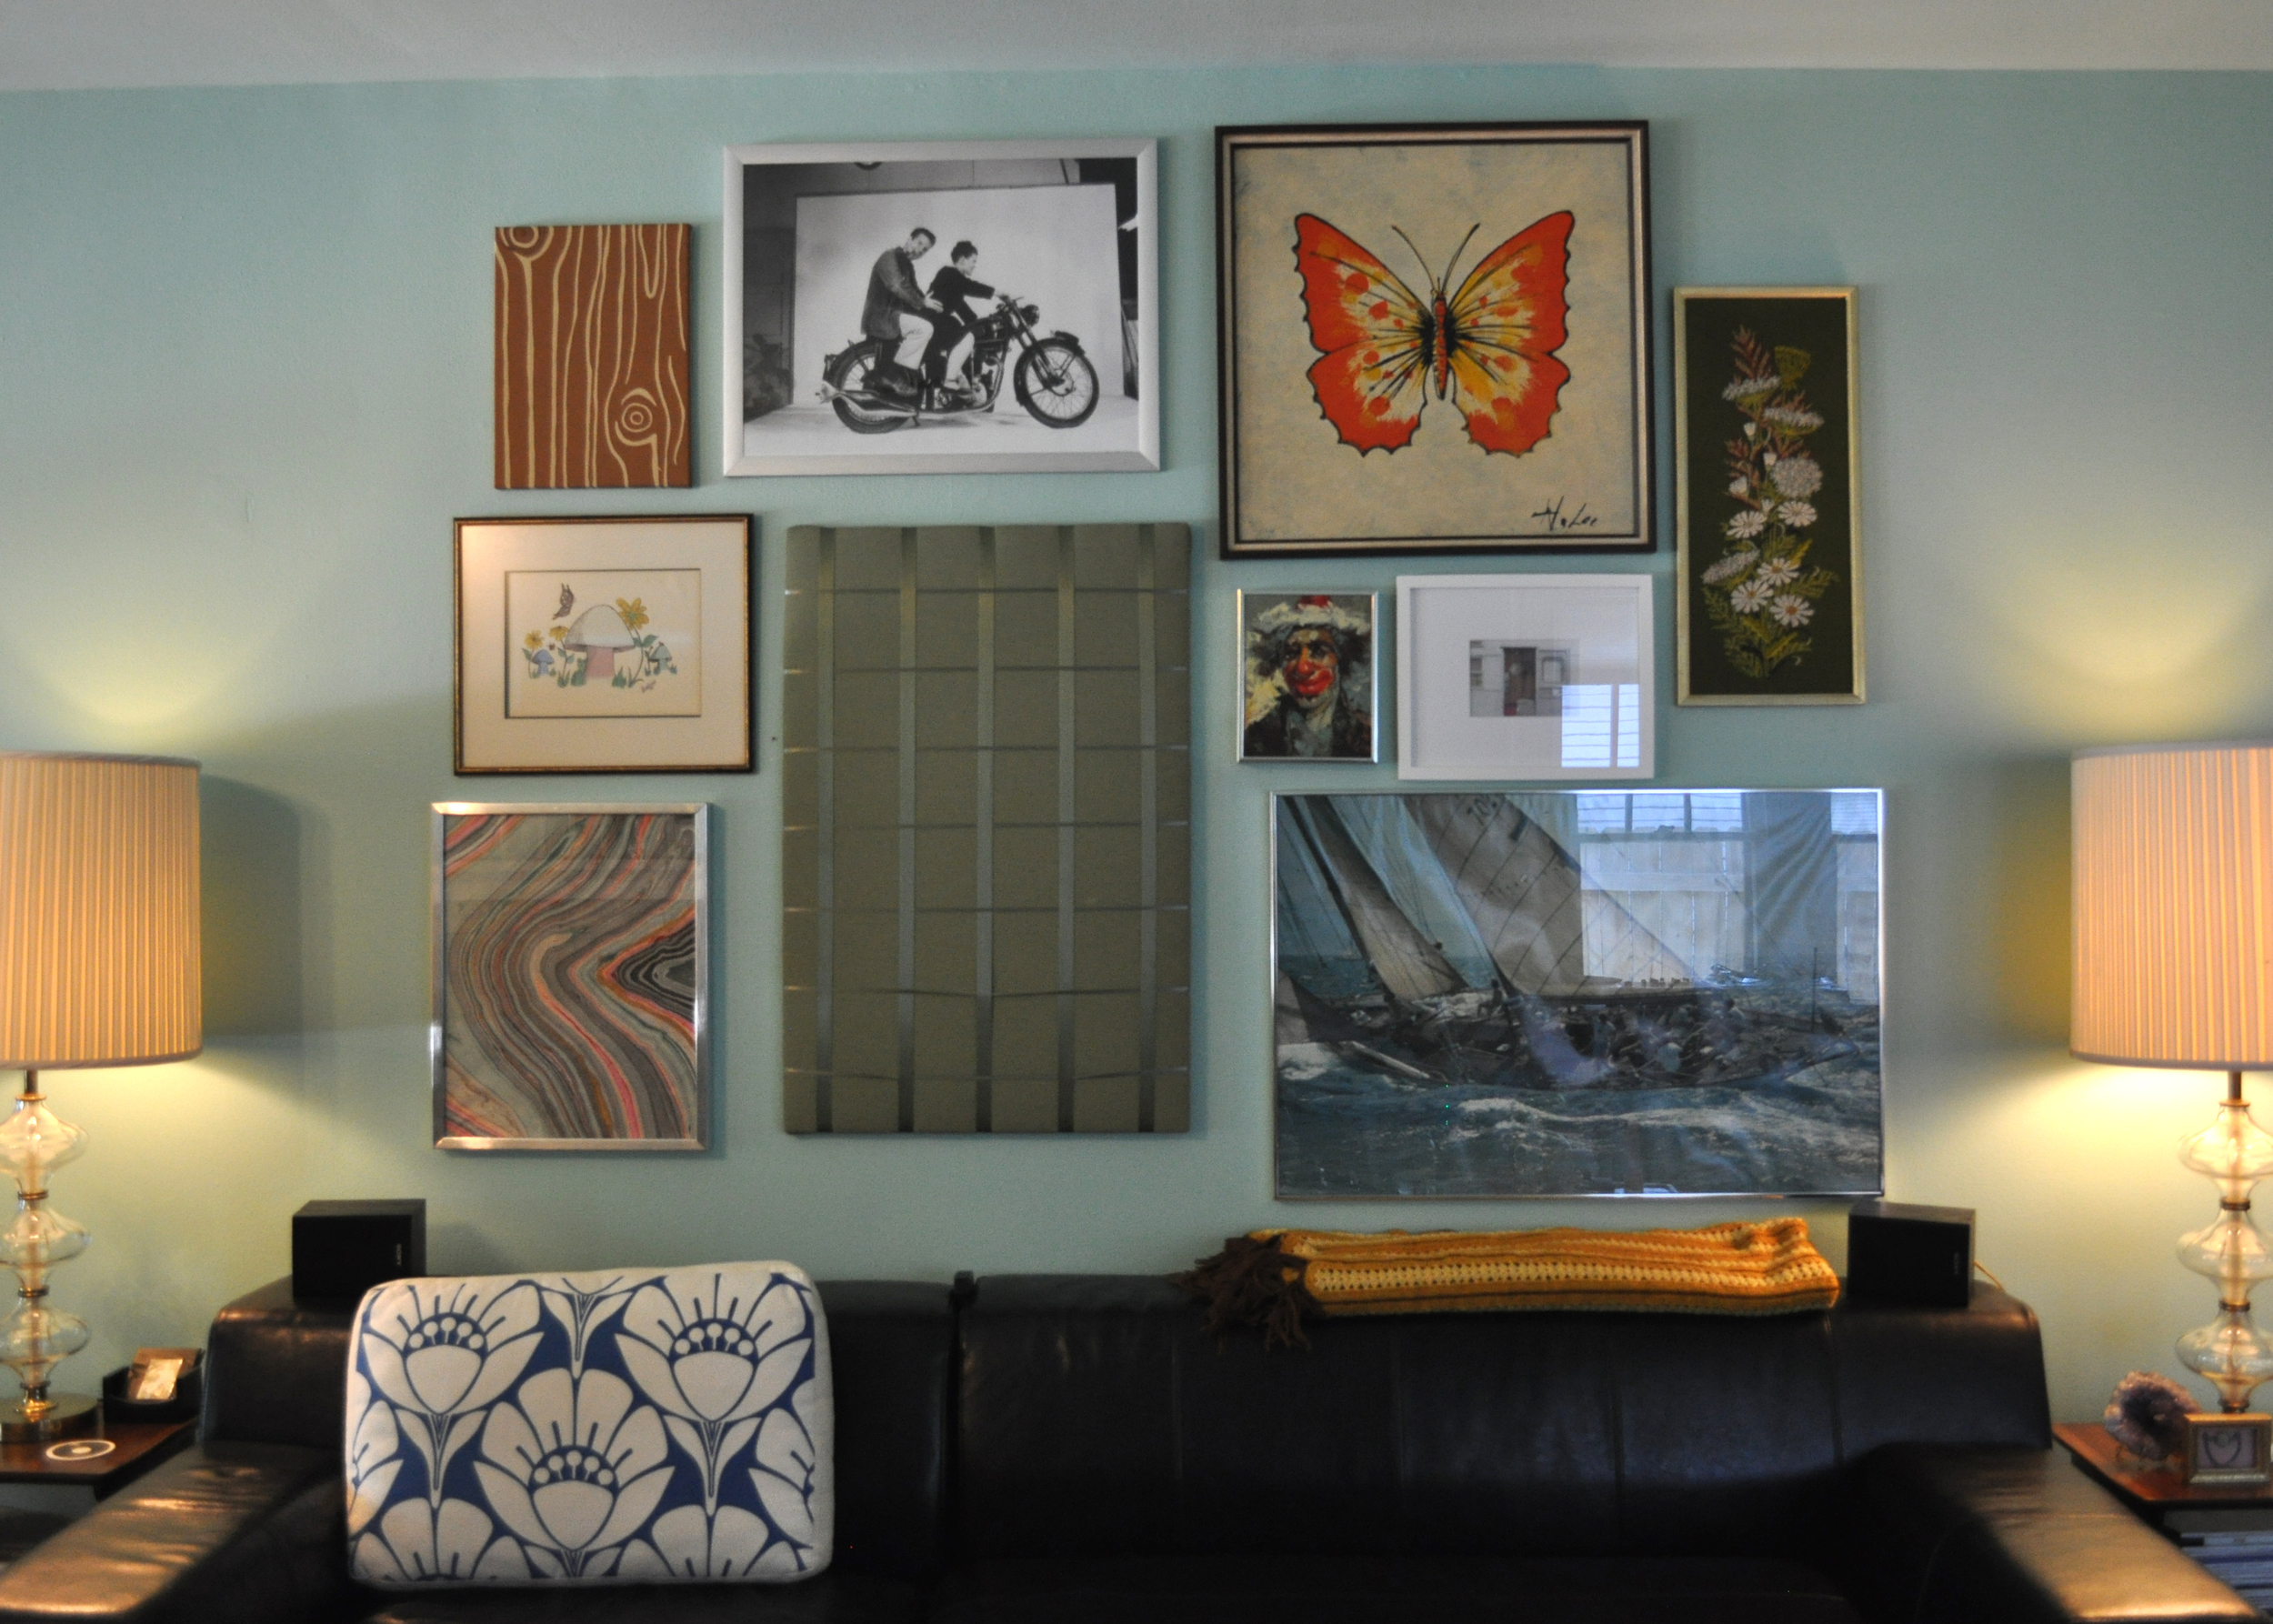
Done! Some of the pieces were adjusted a bit to cover previous holes in the wall. Also be sure to use picture hangers that tell you how much they'll hold if you're hanging heavy pieces. When hanging a gallery wall chances are you won't be hitting many studs. Our walls are incredibly strong, they have lath & plaster behind the sheetrock so it's not a problem for me. The sailboat piece is really heavy though & I don't want it falling on someone so I used 2 30lb hooks.
Do you have a gallery wall in your house? I find that it's the perfect solution when there is a large wall & the budget doesn't allow for a large piece of art.


